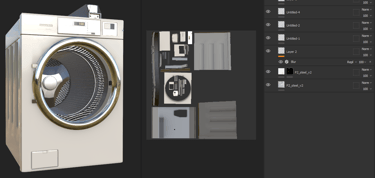
Abandoned Laundromat(WIP)
GAME TECH: REAL-TIME MATERIALS AND SHADERS
Eva Chan
8/20/20244 min read
Introduction
For this project, I'm combining elements from Project Two: Manufactured Materials and Project Three: Organic Materials to create a laundromat scene in Unreal Engine 5. I’ll be working on two sets of realistic materials, using Substance Designer and Substance Painter. My focus for the Manufactured Materials is on getting the displacement details right, while for the Organic Materials, I’ll be fine-tuning subsurface scattering in Unreal Engine 5 to make everything look as lifelike as possible.
Alongside texturing, I’ll be modeling all the meshes and handling the UV mapping to ensure everything fits together smoothly. Lighting is also a big part of this project, so I’ll be using Unreal Engine’s Lumen system to create realistic lighting and bring the scene to life.
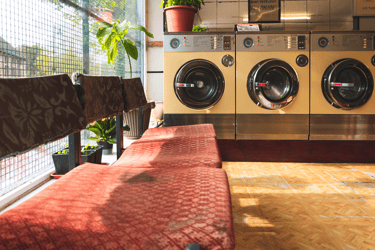
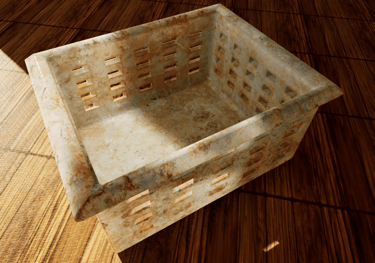
Final Render version 1
Final Render Still version 1
Style references
Lighting references
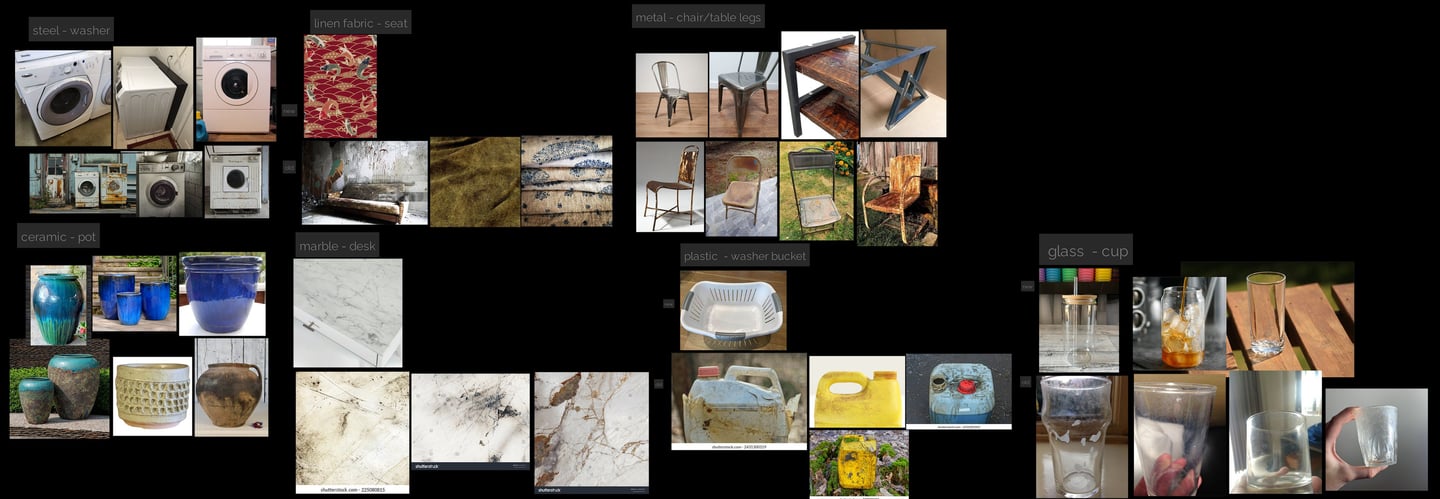
1. Materials references
I began by gathering reference materials for the scene, focusing on two distinct approaches. In the first version, I aim for surfaces that are clean and new but still show subtle wear and tear, like scratches, to enhance realism. This ensures that the materials look accurate yet maintain a believable, lived-in quality.
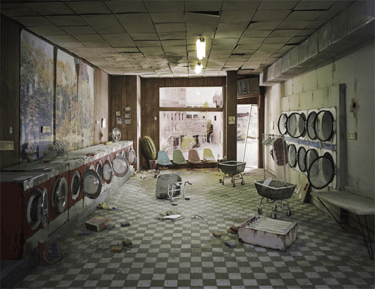
For the second version, I want the materials to convey a sense of abandonment. To achieve this, I’ll be incorporating elements of dirt, grime, and visible damage, such as broken parts, to emphasize the neglected state of the environment.
Technique Breakdown of Manufactured Materials
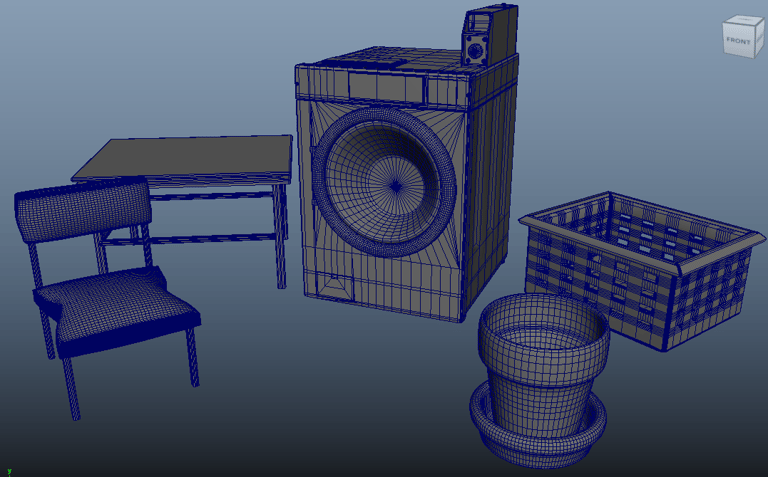
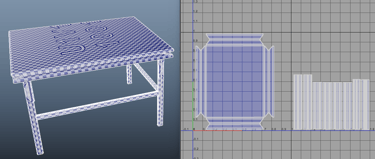
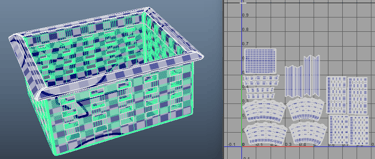
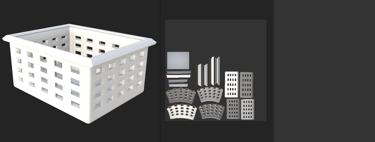
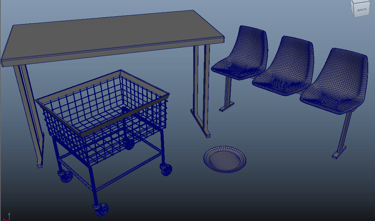
2. Models in Maya
3. Previz in Unreal Engine 5

Next, I imported the meshes into Unreal Engine 5 (UE5) and created three cinematic camera movements to showcase the materials. I will further refine this version to ensure that transitions between each shot are smooth and seamless. Additionally, I identified areas of the mesh that wouldn’t be visible to the camera, allowing me to create UVs that minimize the appearance of seams.
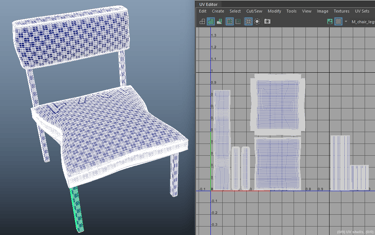
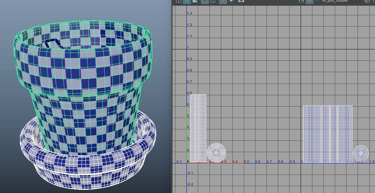
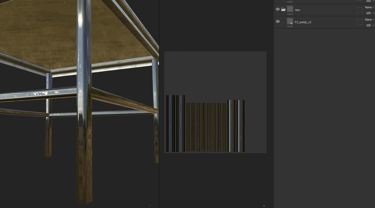
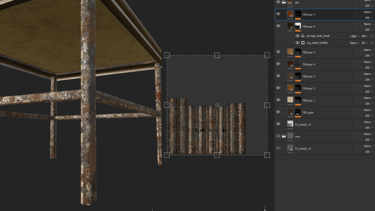
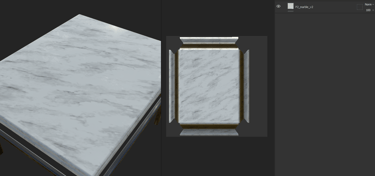
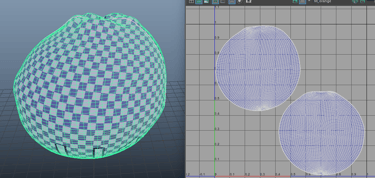
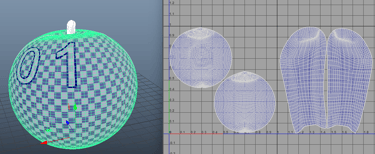
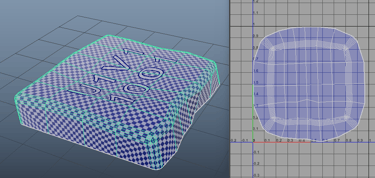
4. UVs layout in Maya

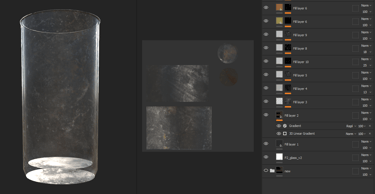
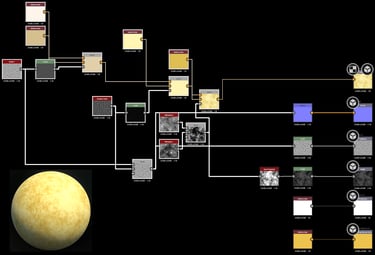
5. Procedural Materials in Substance Designer
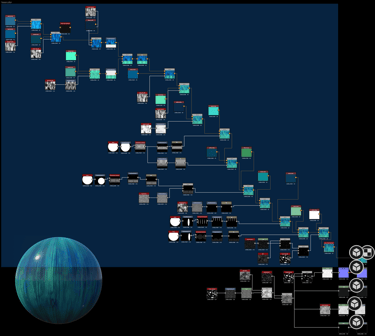
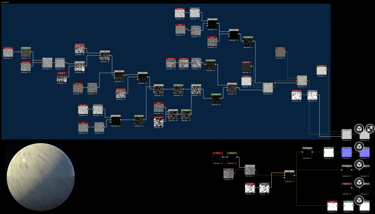
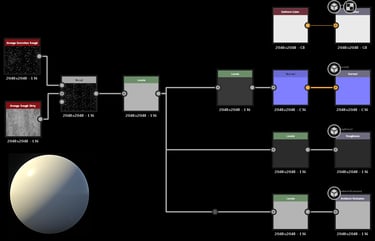
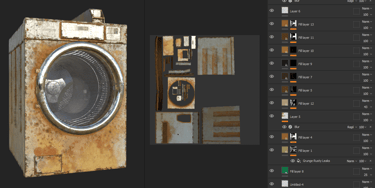
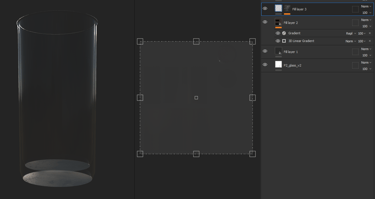
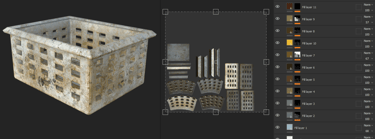
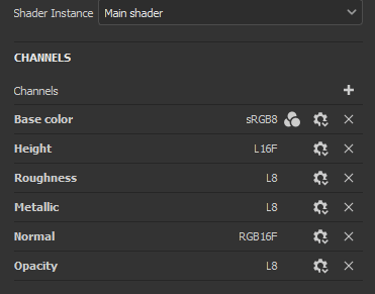
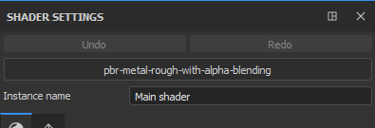
6. Materials in Substance Painter
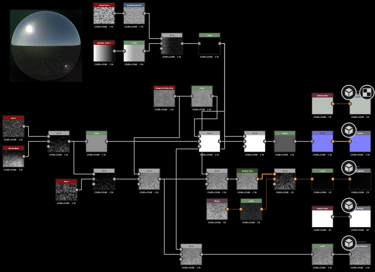
"At first, the transparent part of the washer door didn't show opacity in Painter. I set the shader setting to PBR-metal-rough-with-alpha-blending and added the opacity channel in the texture set settings.

7. Displacement Set up in Unreal Engine 5
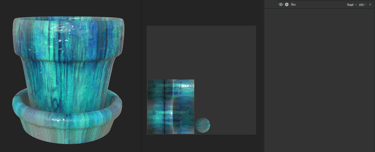
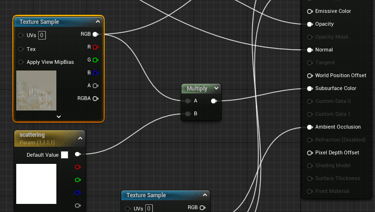
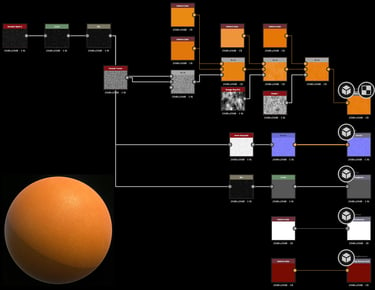
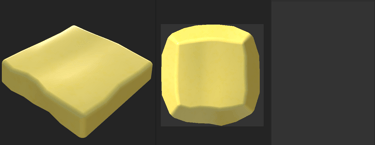
8. Scattering Set up in Unreal Engine 5 For Plastic Laundry Basket
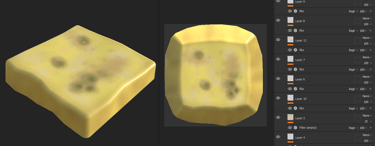
Since the plastic laundry basket has subsurface scattering, you can tell from the shading that the basket isn't completely black. To achieve this, I set up subsurface scattering in the material and used the base color, multiplied by a 3-vector parameter, to control the desired scattering color. I also adjusted the opacity value and found that 0.05 gave the best result.

value:1
value:0.05
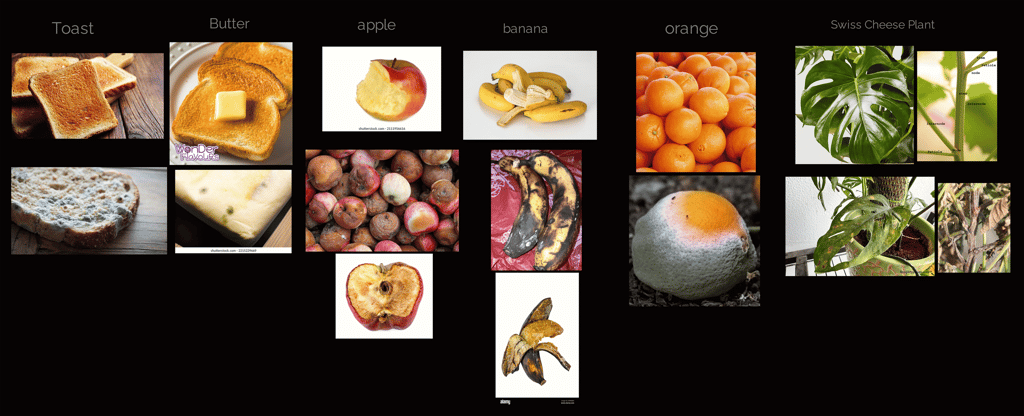
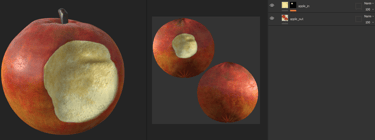
1. Materials references
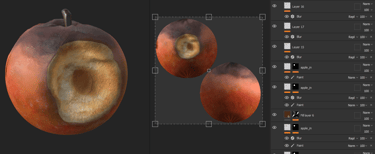
For the organic material references, I focused on finding images of fruit that had been left out for a long time, showing subtle changes in color and texture. I also looked for references with signs of decay on the surface, which allowed me to experiment with scattering values.
Technique Breakdown of Organic Materials
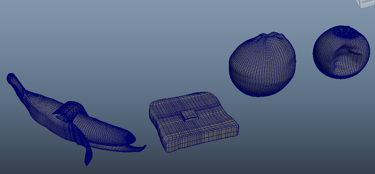
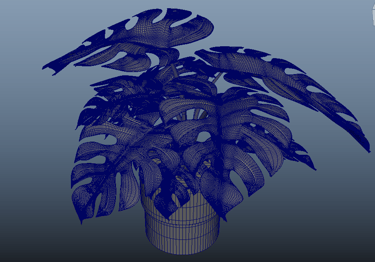
2. Models in Maya
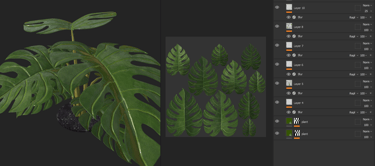
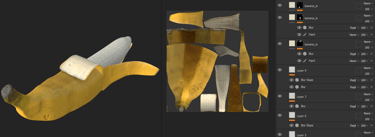
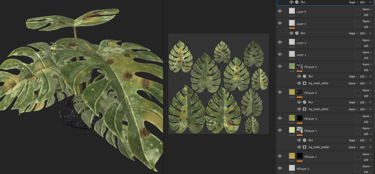
I modeled all the meshes myself in Maya, including laying out the UVs. For the bitten part of the apple, I used the soft selection tool to transform the mesh. For the banana, I used the bend deformer to create the basic shape. For the leaf, I used a curve to draw the initial shape and then smoothed it out.
3. Previz in Unreal Engine 5

For the previs in UE5, I plan to add more shots to showcase the material details up close, following the initial three cinematic shots.
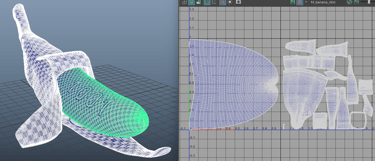
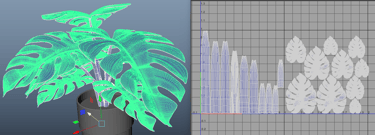
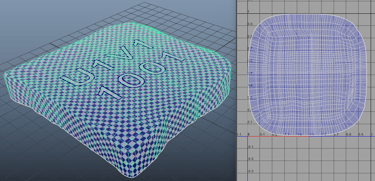
4. UVs layout in Maya
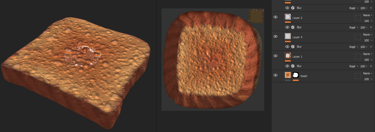
For the UV layout, I encountered an issue with the butter and toast. I initially cut along the edge between the top surfaces, but when I applied the height map to the geometry using the displacement in model mode, the seams became very noticeable. To fix this, I deleted the surface beneath the geometry and used a planar projection from the Y-axis.
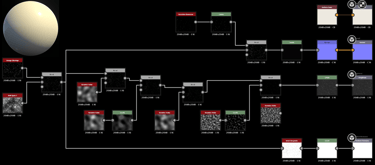
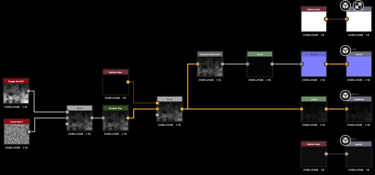
5. Procedural Materials in Substance Designer
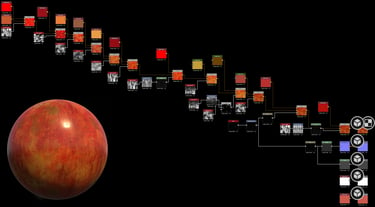
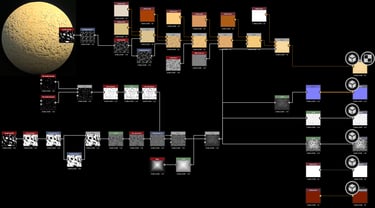

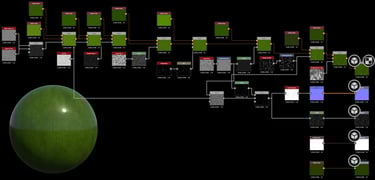
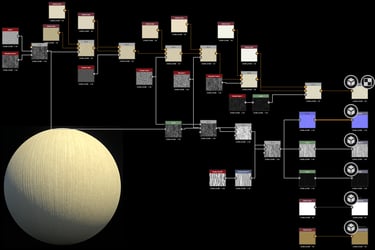

Next, I began creating materials in Substance Designer, using the Metallic Roughness - SSS mode. This mode includes Translucency and Scattering Distance Scale output nodes, which help achieve the subsurface effect. I assigned a color to the Scattering Distance Scale to match the material's subsurface properties. In the 3D view, under the Material drop-down menu, I accessed the SSS/Tessellation settings to control the scattering, scale, and color for the subsurface scattering (SSS).
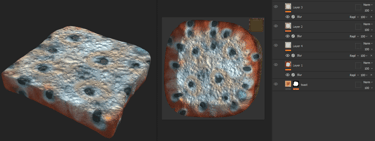
The most difficult part for me was getting the right roughness value on the leaf and achieving the correct pattern and displacement value on the toast. For the toast, the challenge was that the holes in the center are circular, but as they move outward, they take on a different shape, following a swirl pattern.
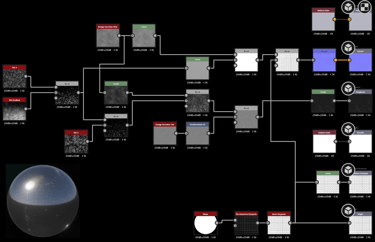
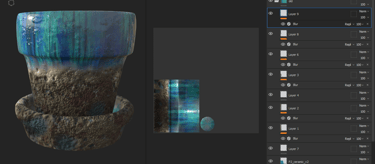
6. Materials in Substance Painter
In Painter, I painted values on the scattering map to apply the correct scattering effects to different parts of the model. I also used multiple layers, applying a blur filter and overlaying them to achieve a more natural look. The most difficult part was getting the banana to look right, as the reference I found had a geometry that looked completely different, making it challenging to achieve a moist and liquid appearance.
7. Subsurface scattering Set up in Unreal Engine 5
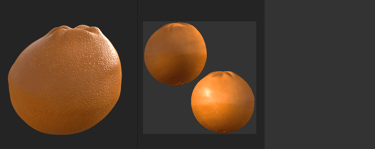
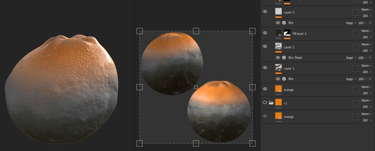
In UE5, there are three different SSS (Subsurface Scattering) settings, and I used each one based on what was most suitable for the specific geometry. For the banana, I used the Subsurface Profile to achieve two scattering colors—one for the skin and another for the flesh of the banana. For the orange, I used the basic subsurface mode, controlling it with a scattering map multiplied by a single color (3-vector). For the leaf, I applied the Two-Sided Foliage mode, controlling opacity by subtracting the scattering map, and for the subsurface color, I multiplied the scattering color with a single color vector, ensuring that the Two-Sided Material option was enabled.
Lighting in Unreal Engine 5
For the lighting, I used Lumen and Ray Tracing in this scene to achieve realistic lighting. I ensured the project settings were configured correctly by enabling all the necessary options, including Hardware Ray Tracing, Path Tracing, Lumen for rendering, High-Quality Translucency Reflection, and DirectX 12. I also enabled Infinite Extent in the post-process settings and adjusted the maximum and minimum EV100 values in the exposure settings to 1.
Render sequencer setting in Movie Render Queue
In the Movie Render Queue settings, I rendered in EXR format with PIZ compression to achieve better quality and allow for color correction afterward. I also used two Console Variables: r.Raytracing.Geometry.InstancedStaticMeshes.Culling 0 to reduce noise in the shadows and r.Raytracing.Shadows.EnableTwoSidedGeometry 0 to solve the flickering shadow issue.