Floating Bunnies
TECHNICAL DIRECTION IN COMPOSITING
Eva Chan
11/20/20243 min read
Responsible for: All aspects except the model
Software: Autodesk Maya, Nuke
Renderer: Arnold
Skills: Compositing, Lighting, CG Integration
Credit: Stanford Bunny Model

Blog
Class 13
Project 2 Resubmit

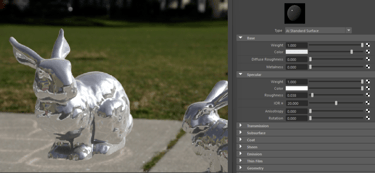
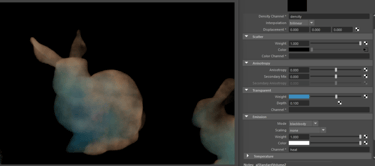
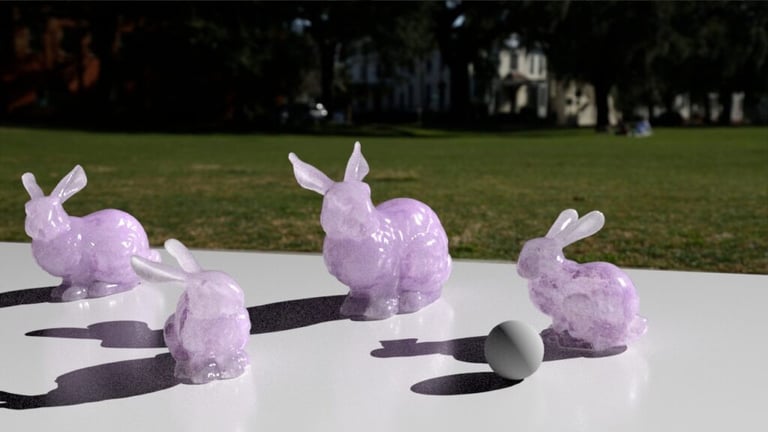
After receiving feedback from the class, I discovered that the reason my shader appeared so matte was that I had not turned off the base color in my reflection layer. In this resubmitted version, I also darkened the shadow. After researching some real-life glass stones, I realized that the shadow should be darker with only a small part of specular light. Therefore, I applied a cloud 3D shader to the transmission color and adjusted its scale until I achieved the desired result.
Additionally, there was an issue with a dark line around the object, so I used a copy node with the original alpha to completely clean up the black edge.
Overall, I really like this project and am satisfied with the result. It's quite different from what we're used to, incorporating camera tracking into the project, which made the whole process more complicated but also fun. Additionally, I learned more about shaders and how to create more interesting results, such as refraction inside the object.
Class 12
Final Render

I applied the nFresnelMatte gizmo, which we learned about in the last class, as the mask for the class and subsurface masks, enabling me to adjust the portions for two shaders in Nuke. However, I still couldn't figure out why the glass looks so matte.
Class 11


Caustics in the shadow
I attempted to create a highlight dot on the shadow, but even after configuring the Diffuse, transition color, transition depth, and clamp value, it still did not work. I utilized a mesh light and adjusted the intensity and spot, but I have yet to figure it out.


I employed Brownian motion to the transmission color, resulting in an intriguing outcome that I particularly appreciate. It closely resembles the realistic glass material demonstrated by the professor in class, reflecting the lighting conditions accurately.


I utilized AiShadowMatte along with the facing ratio to generate a mask for my shadow. This allowed me to blur the edge of the shadow and achieve a smooth falloff between the shadow and its surroundings.
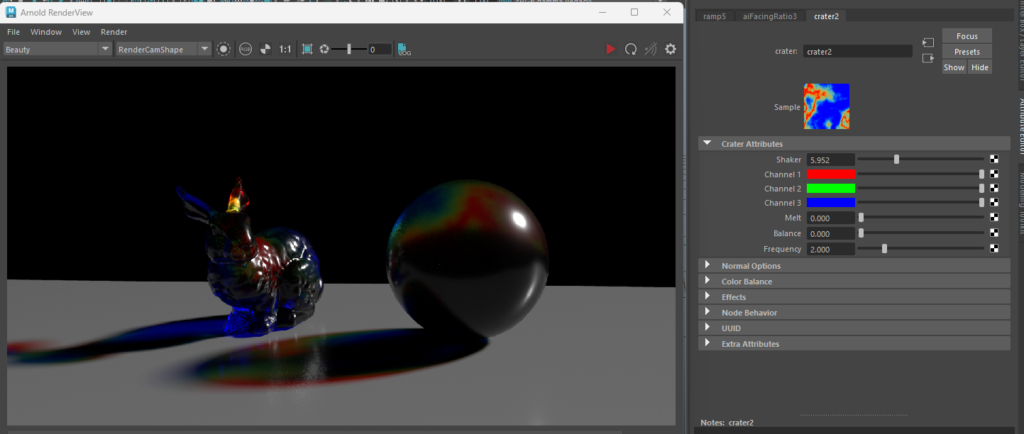

I played with the crater, ramp, and facing ratio settings to achieve some interesting results in creating caustics.
Class 10
Render test
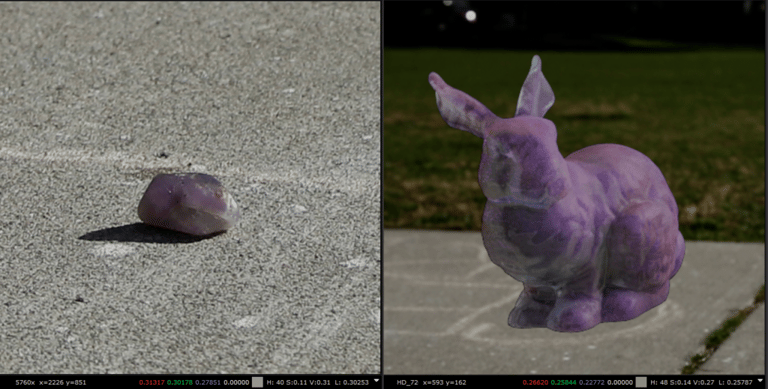

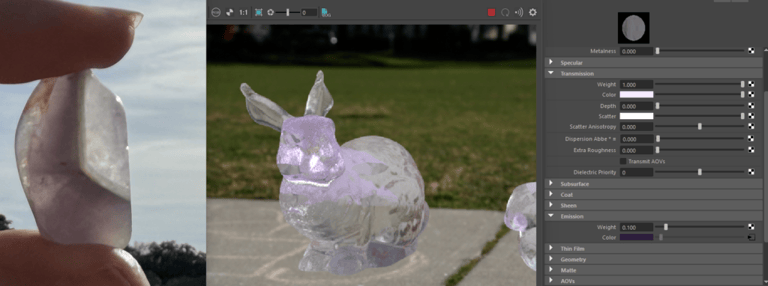
Volume
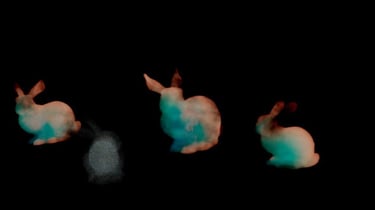
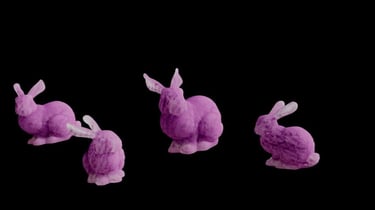
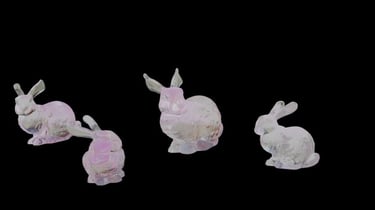
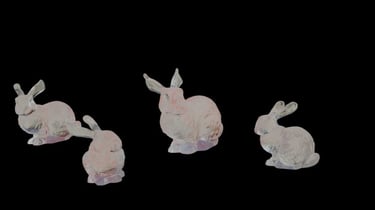
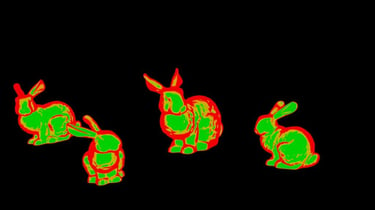
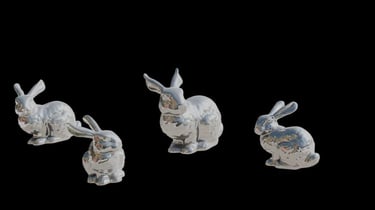



I tried using different colors in AiStandardVolume to achieve a better result since using only purple and white according to my stone was not obvious and interesting.


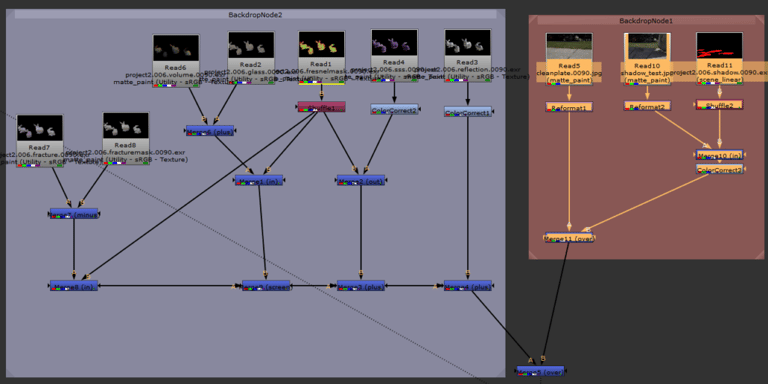
Fracture
Fracture mask
Fresnel mask
SSS
Glass
Reflection
node tree in nuke
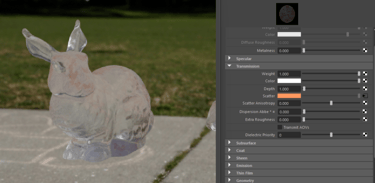
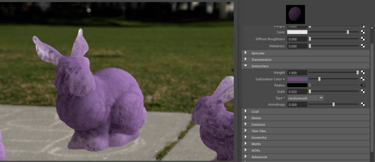


Glass
Reflection
SSS
Fresnel mask
Volume
fracture
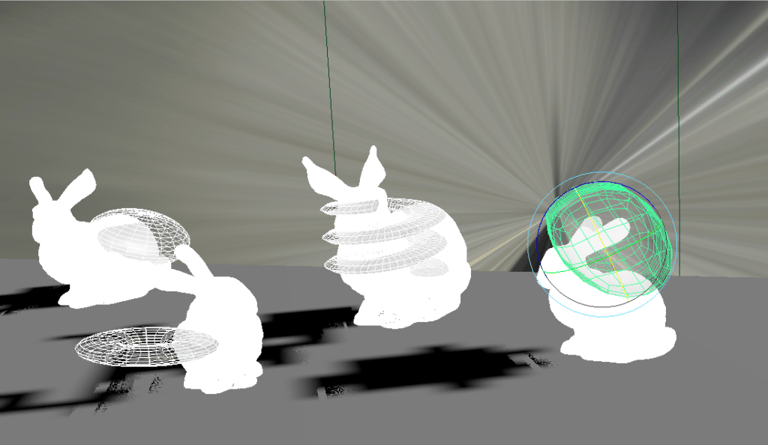

Using geometries to create fractures inside the objects.
Class 9
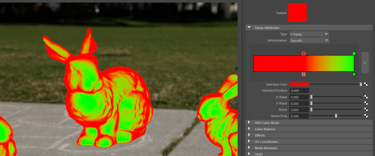
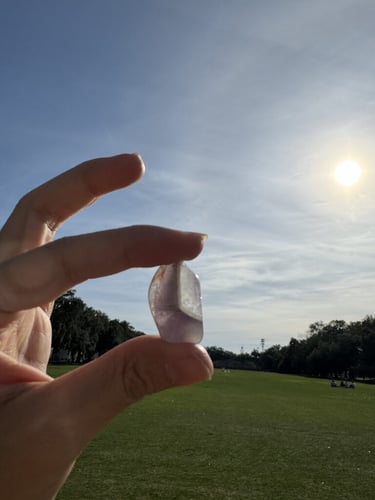
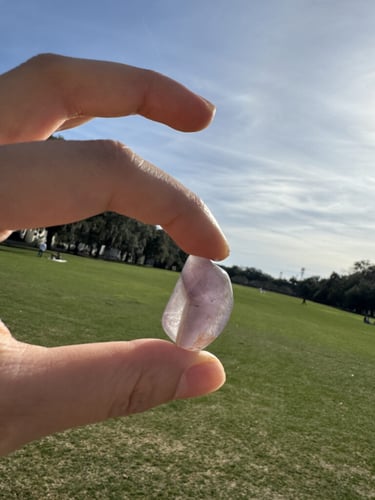
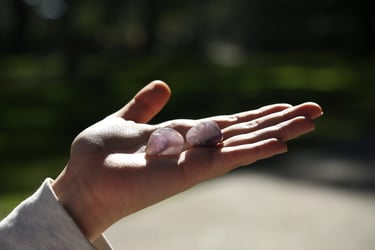
Based on the photo I took, the edge of the stone didn't appear very translucent, as only a hint of green from the grass in the background was visible. Additionally, I attempted to capture the orange-red hue by applying in the scatter.
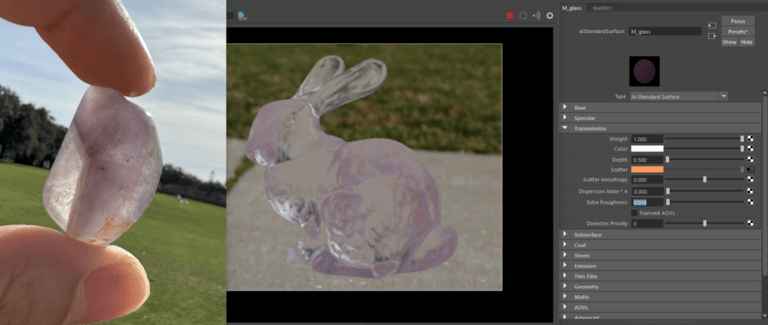

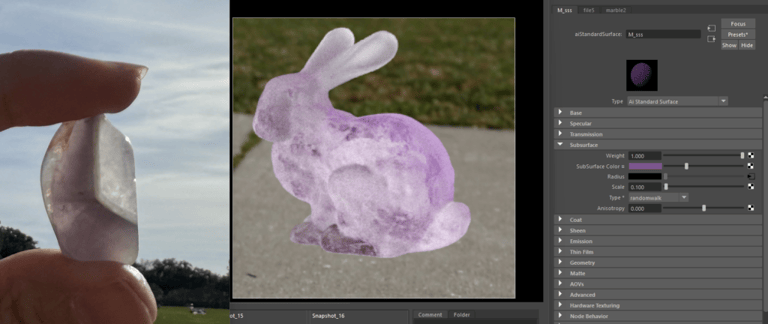

For my subsurface, I applied a texture to the radius to achieve a mixed-color effect on the stone.
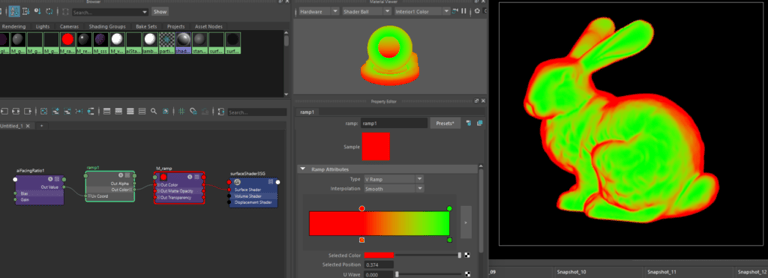

I tried different interpolations to see which one gives a smoother color transition in the ramp.


I merged the reflection with the subsurface scattering (SSS) and glass materials using a mask.
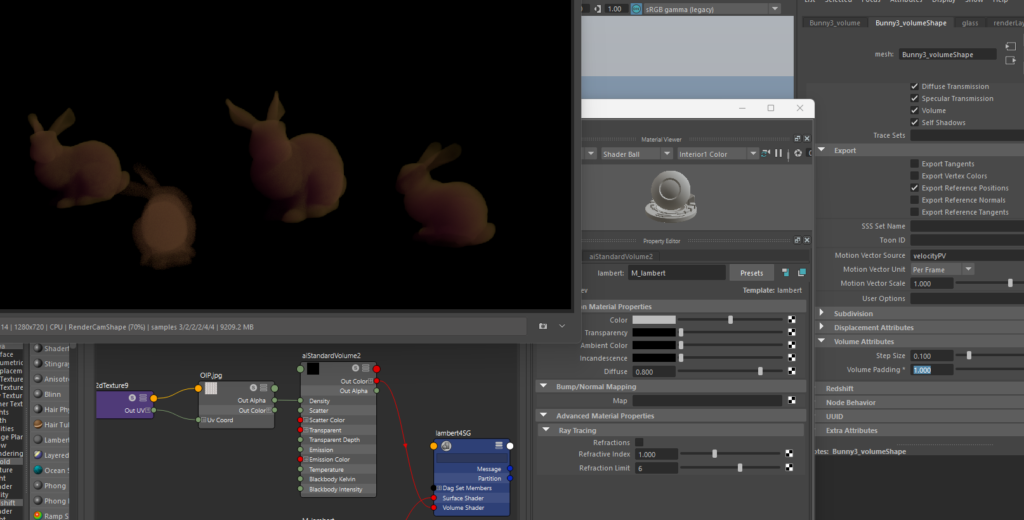

I was experimenting to replicate the interior appearance of the stone as closely as possible. I used the 'aiStandardVolume' shader and applied the same texture as the SSS shader to the intensity. However, despite adjusting the UV, step size, and volume padding, I couldn't observe significant effects.




Class 8
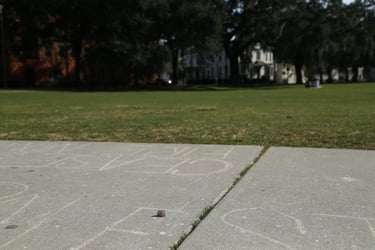
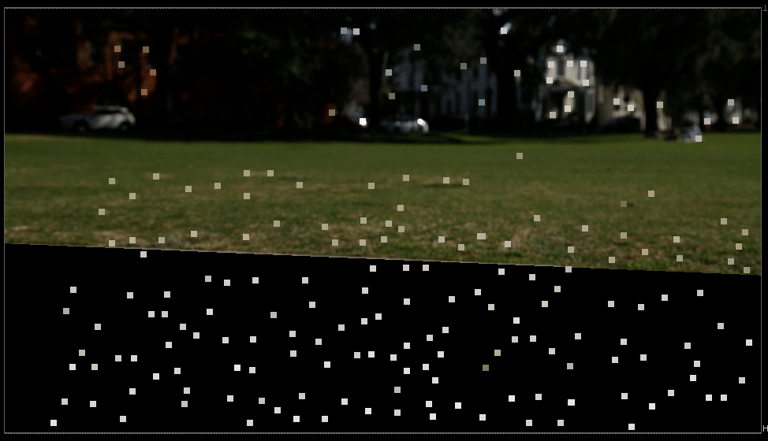
I reshoot the photo set for project two since the camera movement in the last one is too subtle.

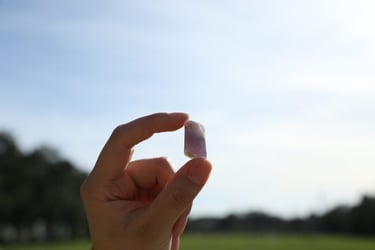
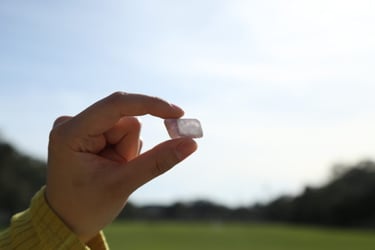


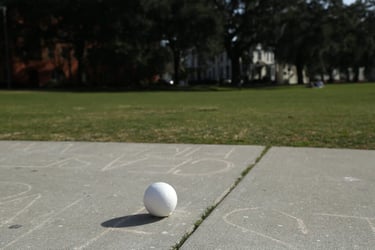
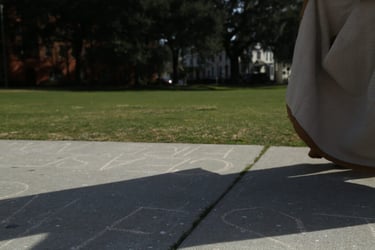


Applied camera tracker in Nuke, the error is 0.67.

Project 2a Camera Tracking Update

Project 2a Camera Tracking
After matching lighting (key light and Skydome).
Reshoot Grey Ball and Shadow Plate


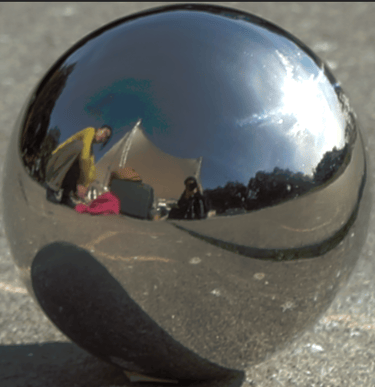

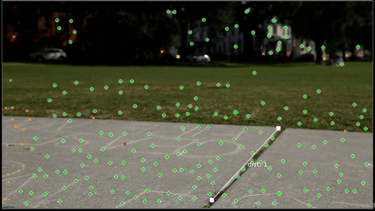
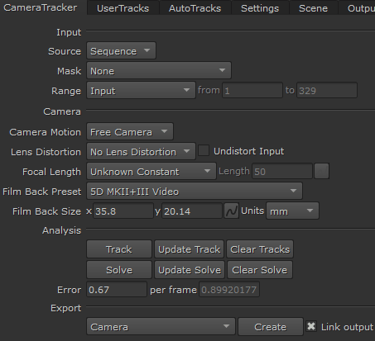


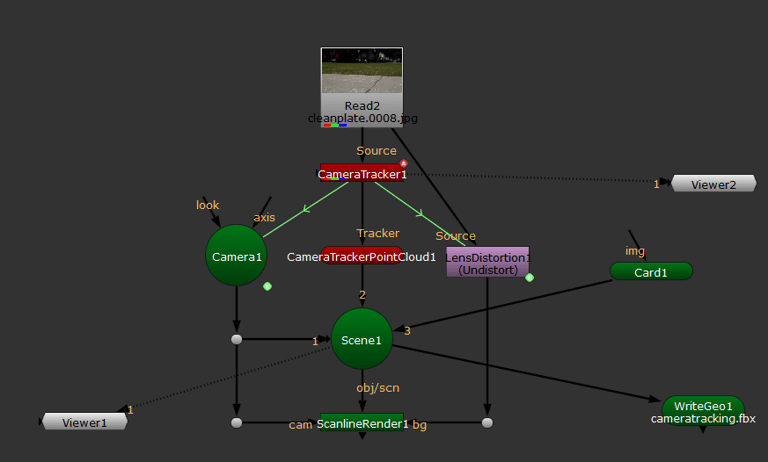
After creating a scene+ in Nuke, I placed an XZ card and tried to align it with the ground.


Class 7
I plan to reshoot my photos tomorrow because the camera movement in my last photoset was too subtle. Nonetheless, I utilized that photoset to practice camera tracking in Nuke and incorporate the bunny model into the scene.
After applying cameraTracker node, the error is 1.11
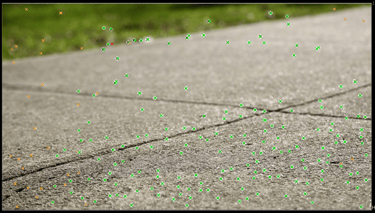
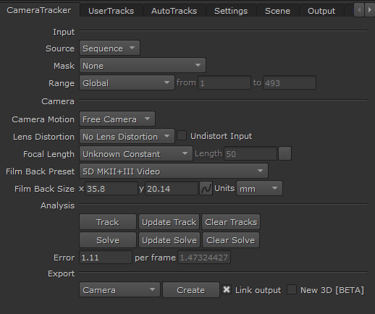


I removed some red markers from the grass, reducing the count to 0.9
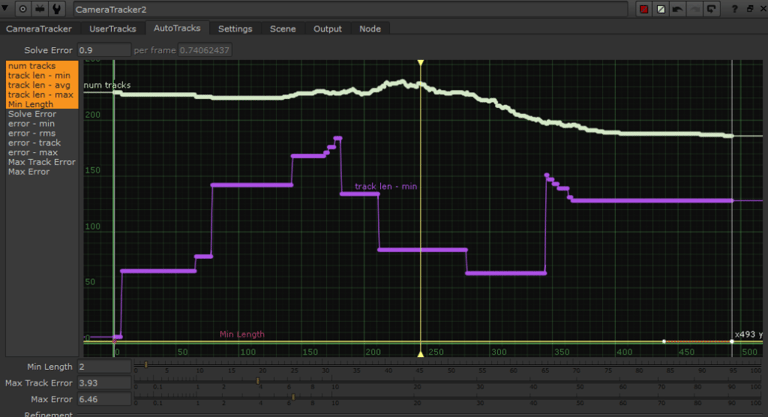


The trackers after cleaning


I placed a card on the ground, and it took some time to align because sometimes, as soon as the camera moves, the edges no longer match.
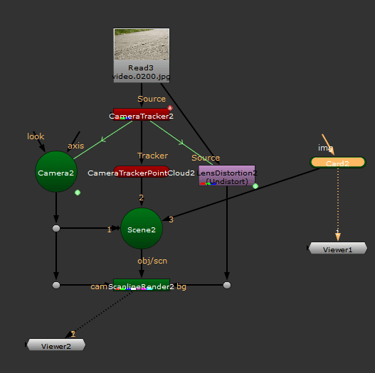
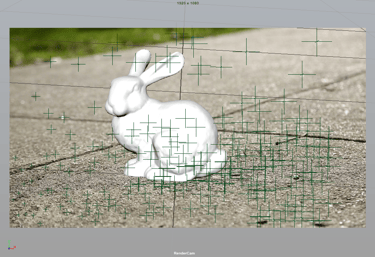


Node tree before I used Writegeo to Maya

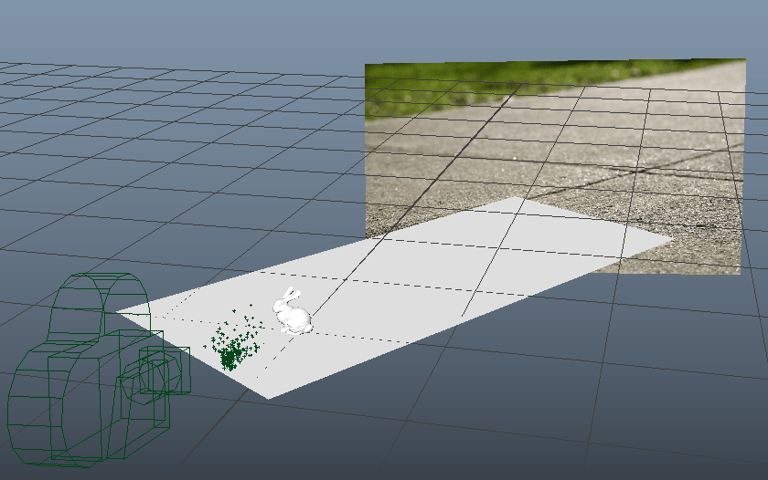

After grouping them, moving all to the center makes it easy to place the rabbit on the grouped plane.

Class 6
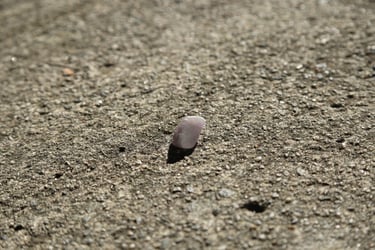
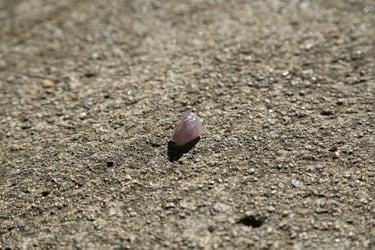
This weekend, I went out with Candice to take photographs for Project 2, and it was quite enjoyable. Additionally, I had the opportunity to hang out with her for a bit. We were just looking for a spot with a nice, clean ground and no shadows.
clean plate with subtle camera movement
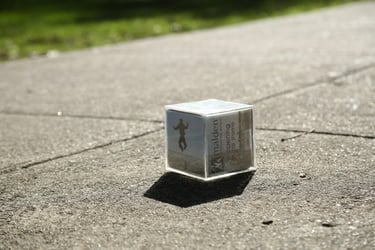
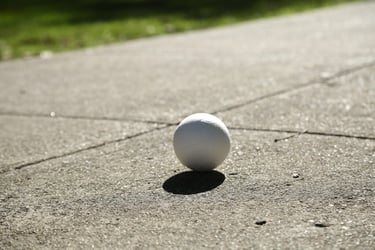
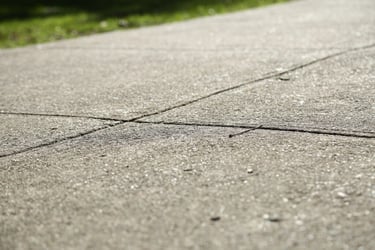
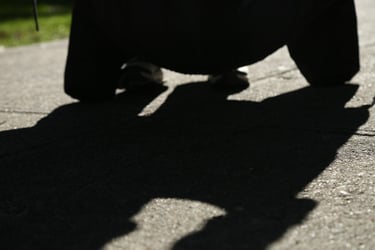


Feel like the darkest pictures are not enough since the light is pretty strong.

Cube
Grey ball
Clean Plate
Shadow
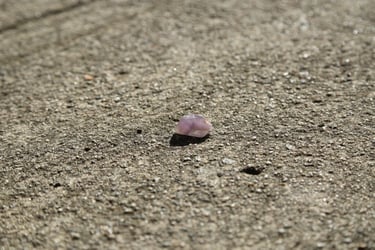


HDR in Photoshop
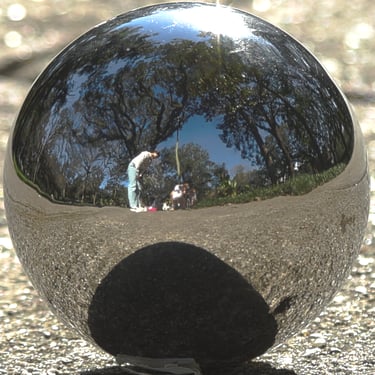

HDR
