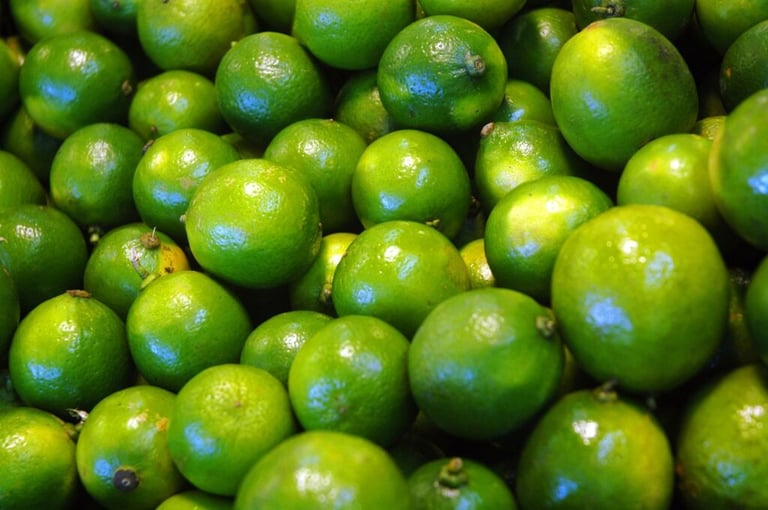
Limes
TECHNICAL DIRECTION IN COMPOSITING
Eva Chan
8/20/20244 min read
Responsible for: All aspects except the model
Software: Autodesk Maya, Nuke
Renderer: Arnold
Skills: Compositing, Lighting, CG Integration


Blog
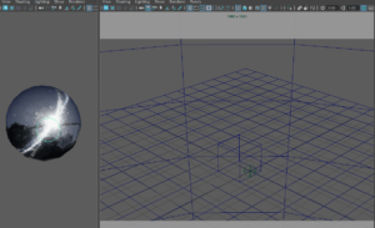
Class 5
Final Render and buildup
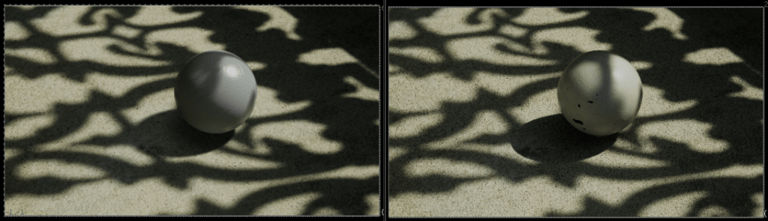
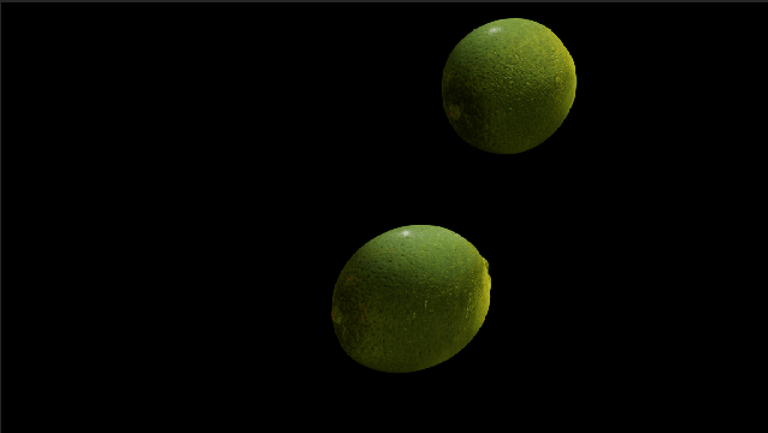
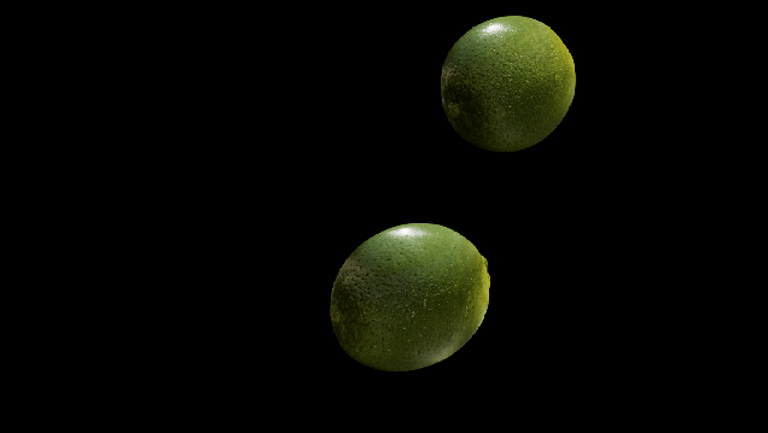
After class 5, I finally fixed the issue I had. I placed the ground plane with key light projection in the beauty layer without turning on visibility. However, this resulted in weird reflections on my ball. Instead of just one lime, I added two limes to the scene to make it look more interesting.
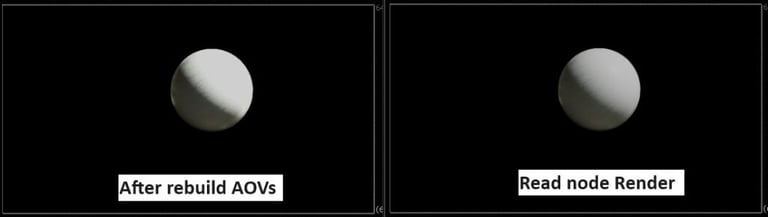
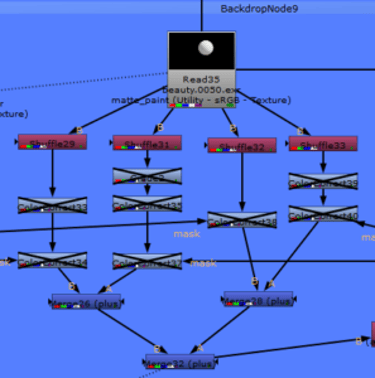
Before starting to adjust the scene with the lime, I focused on fixing the grey ball. I encountered a problem that still cannot be solved. In Nuke, my render looks different from rebuilding AOVs. I checked all input and output color settings in Nuke and found out the issue might be related to specular. After using shuffle and merge plus, my diffuse looks bigger, and the edge of the shadow on the grey ball also moved.
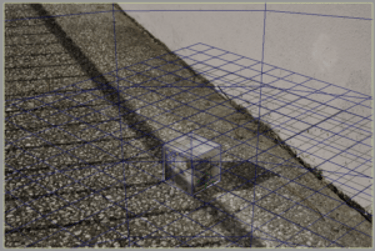
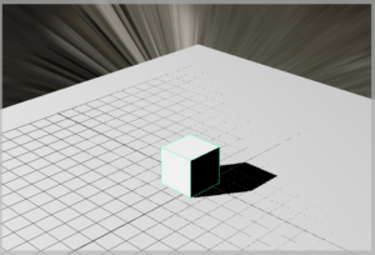
The key light projection still doesn't look exactly like the photography. I tried to paint the edge of the shadow to make it look cleaner.

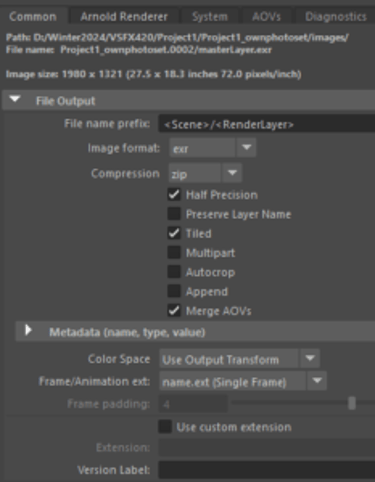
AOVs rebuild node tree, shuffle diffuse direct, diffuse indirect, specular direct and specular indirect, and merge plus all.
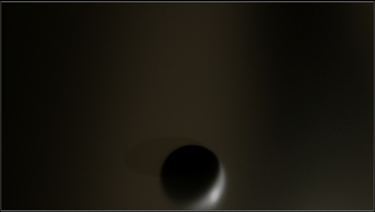
ground shadow reflection
In class 5, we reviewed how to create a ground shadow reflection and a reflection mask. Therefore, I attempted to play with it in my scene, even though I think my scene does not need it.
ground shadow reflection mask
AOV Z
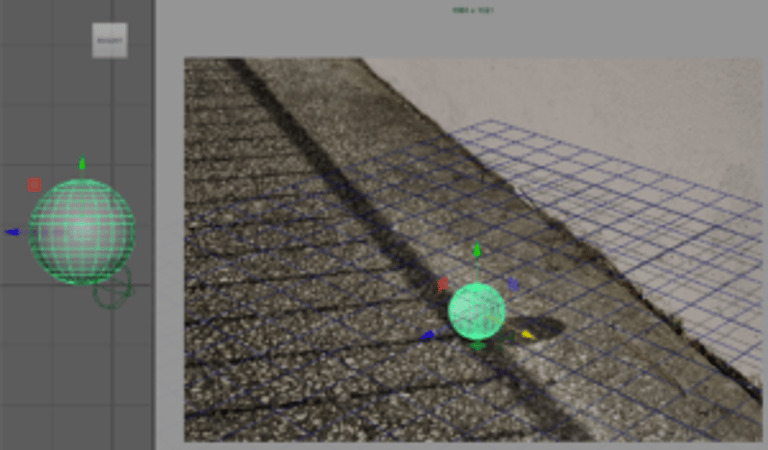
After ensuring that the light and color were set up correctly, I added the lime to the scene. The first challenge I encountered was how to make the animation look realistic. I tried to find some physics test videos online to ensure accuracy.
Additionally, I assigned AO, specular, normal, and displacement maps to the material for the lime. However, after rendering, it appeared much darker than the gray ball. To address this, I increased the specular exposure to 4 to create more diffuse on the lime, similar to the reference photo.
specular 0
specular 4
Class 2
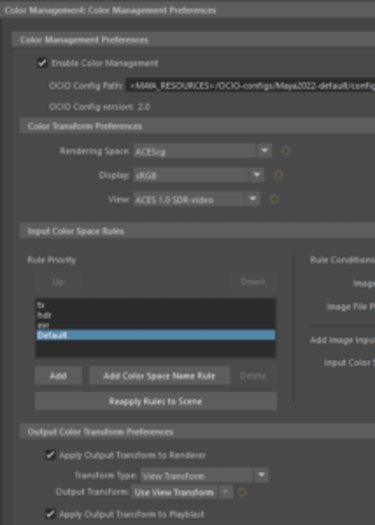
This week, I created my own photo set for project one, comprising seven exposure pictures for HDR. This aspect was particularly intriguing for me, as it wasn't covered in class 752. Additionally, it was quite cool for me to learn how to set up white balance and work with seven exposure pictures for HDR in class 2.
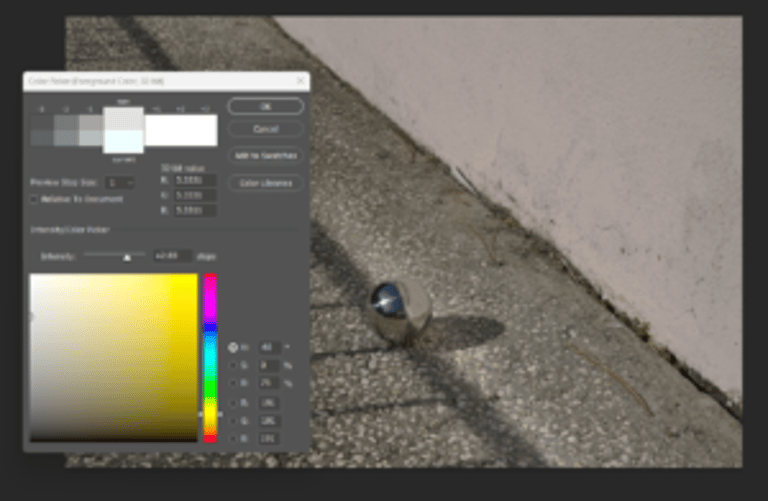
Before delving into Maya, I used Photoshop to create my HDR. I employed the "Merge to HDR Pro" feature, selecting seven exposure pictures and opting for the 32-bit mode. I also turned off completely Toning in Adobe Camera mode. Before saving it as a Radiance file, I ensured that the brightest value was above 1 (mine is 5.3331), and I cropped it to the edge of the gray ball, double checking the HDR in 32-bit mode.
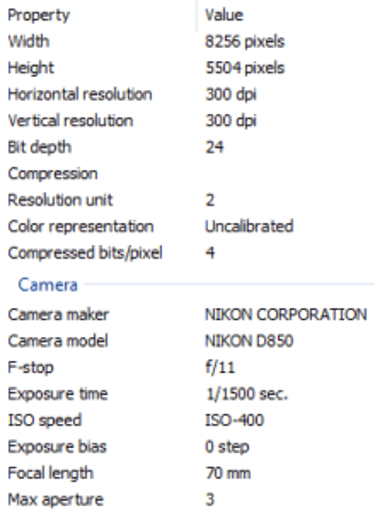
After taking my own photo set, I configured the camera settings (focal length 70), resolution (8256X5504), and adjusted color management, rendering settings, and the scene scale to match my camera and the photo kit I used.
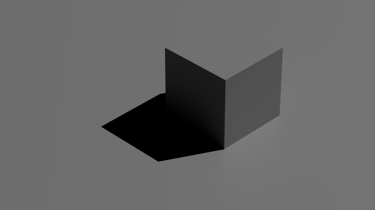
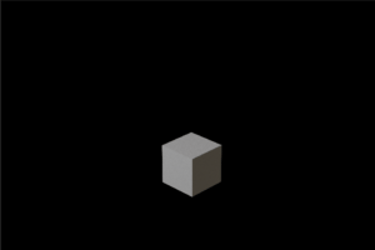
Next, I introduced a cube into my scene and set the scale to 2 to match the size of the cube I used in the photo set. I utilized the image plane from my rendercam view to line it up. To ensure accurate alignment, I used paper tape stuck on my screen. Additionally, I added a spotlight as my key light and adjusted it to line up with the shadow. I also made sure that the cube's shader is set to aiStandardSurface, not Lambert, as Lambert does not show specular highlights.
Afterward, I created a sphere and assigned a Maya surface shader to it. I used ball projection to project my HDR onto the sphere. I adjusted the 3D texture to align with the center of the picture (diamond shape on 3D texture). Following that, I looked through my key light to ensure that its position matched the key light (sun) in my HDR image.
Following that, I placed a sphere into my scene, ensuring it is on the ground. I also changed my camera image plane to the one with the grey ball to match its position.
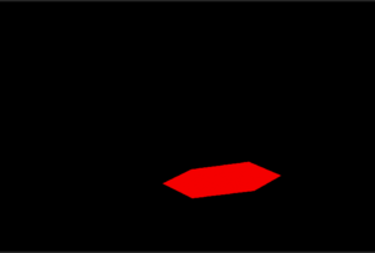
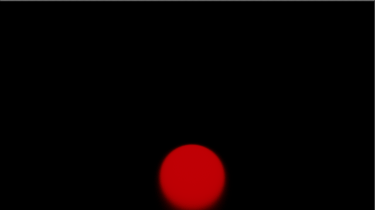
After that, I began creating layers. For the beauty layer, I created a layer overwrite to turn off HDR and ground visibility. For the shadow layer, I turned off the visibility of the cube and assigned an aiStandardMatte material for the ground plane. Additionally, I changed the color to red to make the shadow visible. Finally, I animated the ball, attempting to make it appear as if it is sliding down the slide.

Class 1
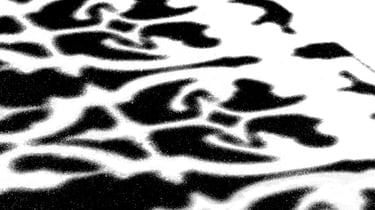
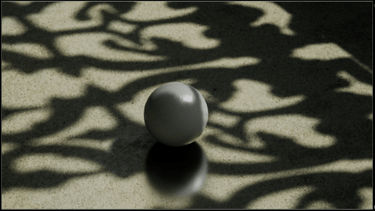
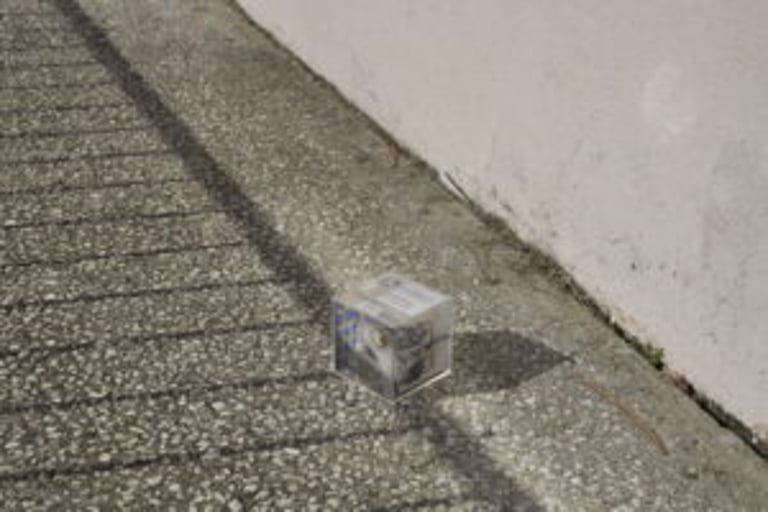
After the first class, I selected the photo set by Sarah Ruskin from Dropbox. The reason I chose this particular set is because I find the shape of the fence's shadow interesting, and I believe it would pose a challenge for me.
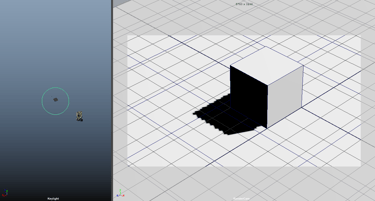
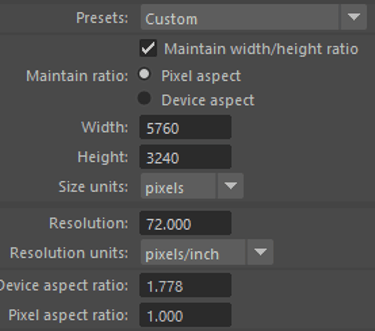
Following the steps I learned from the first class, I began by creating a camera and assigning the cube image as the image plane. I then set up the scene scale, which is in inches. After that, I checked the crop factor of the Canon EOS 5D Mark III online, and it is 1.0. So, I adjusted the resolution and focal length according to the photography standards.
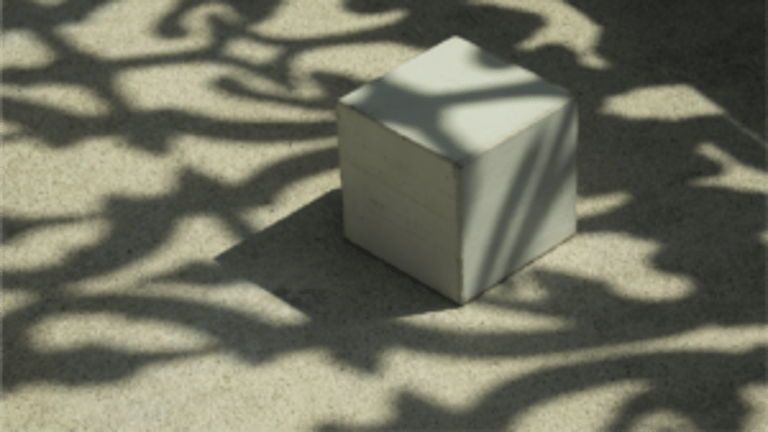
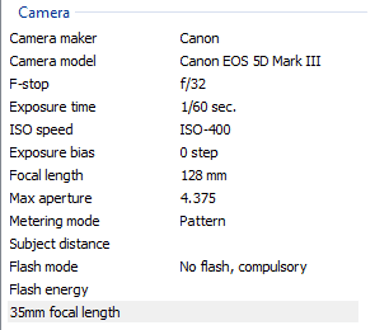
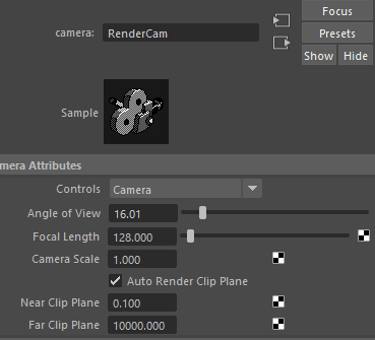
Next, I added a cube to the scene and set its scale to 2. Aligning the cube with the photo-shoot took some time, especially because I initially set the focal length to 35mm, which turned out to be incorrect. I later adjusted it to 128mm, which is the correct focal length.
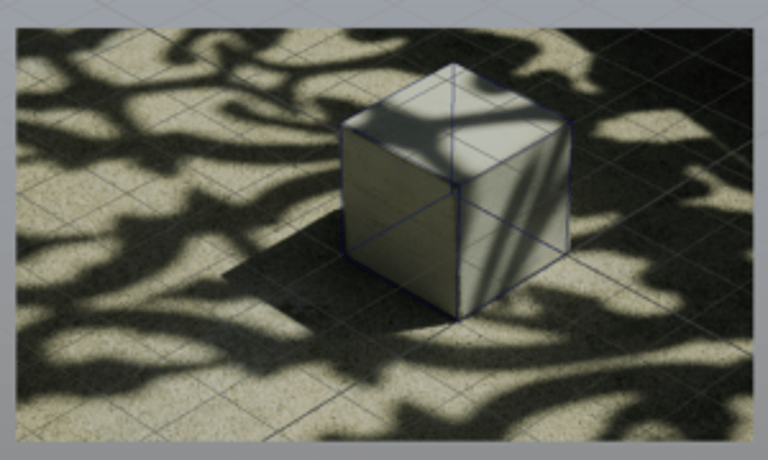
Afterward, I introduced a spotlight into the scene. To align the shadow accurately, I employed paper tape on the screen to mark the location of the shadow.