SCAD X Harbor Picture week 4
SCAD X HARBOR PICTURE
1/27/20256 min read
January 28, 2025
Feedback / Notes
Mentor Kyle:
Lock the camera by next week.
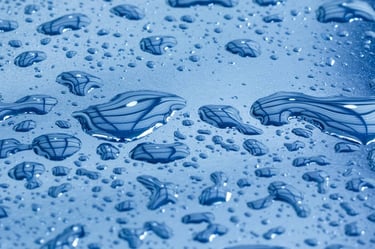
Shot 2: Super macro.
Shot 3: Capture the moment of the petal curving under the weight of the water.
Shots 4-5: Consider combining them to show both the droplet and the water residue. Slightly rotate for more refraction.
Reframe the logo.
Mentor Hailey:
Shot 5 is elegant but needs a more dynamic feel.
The branch is off.
Mentor Molly:
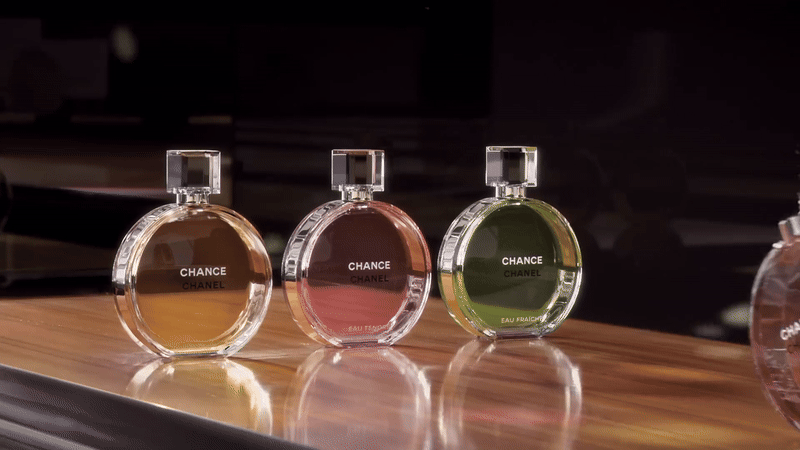
Reference: The bottle has a more dynamic movement.
Right now, the motion feels too slow, like a screensaver.
Shot 5: Add more dynamic lighting to maintain energy. Shot 5 needs something extra.
Adjust texture scale, displacement, and bump.
Mentor Vi:
Agreed—some pacing modifications are needed.
Shot 6: The logo/bottle composition is too close to the top.
Adjustments
Enhance Shot 5 to make it more dynamic.
Move Shot 3 closer to better capture the curving of the petal.
Reframe the logo in the final cut.
Team Tasks:
Lock the cameras.
FX Tasks:
Finalize FX layouts for shots 4, 5, and 6.
Add bubbles for shots 6.
Renders for shots 4.
February 03, 2025


January 30, 2025
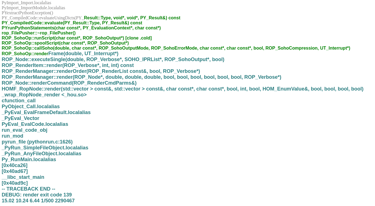
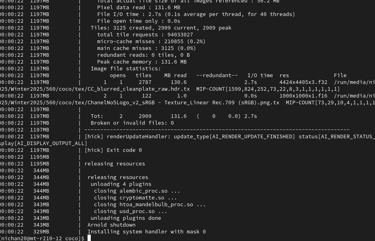
Arnold command line render in Houdini in Linus
So after I finished the fluid simulation, I tried to do a render test in the farm, but I got an error and didn’t get any frames back. I then tried rendering through the command line in the terminal, which worked.
How to run an Arnold render command in Linux terminal for Houdini at Monty:
Initialize the environment:
bash
source ~/source_me_4_houdini_20.5
Navigate to your file folder:
bash
cd /path/to/your/folder
Run the render command:
bash
hrender -e -f 1 2 -d arnold1 coco.0026.hipnc
Replace 1 and 2 with your frame range.
Replace arnold1 with your render node in the OUT context.
Replace coco.0026.hipnc with your Houdini file name.
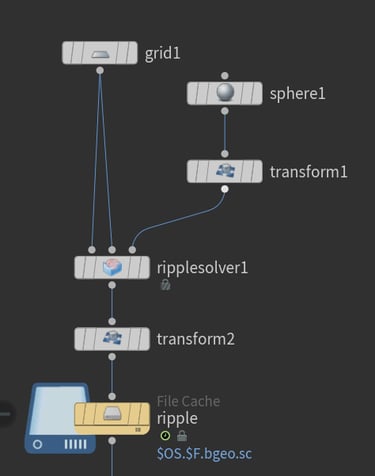
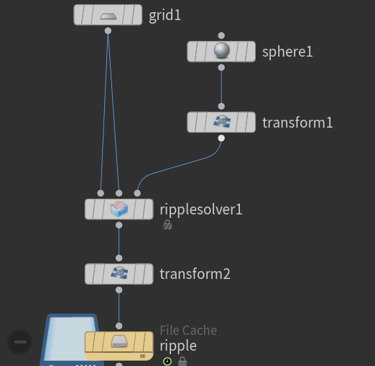
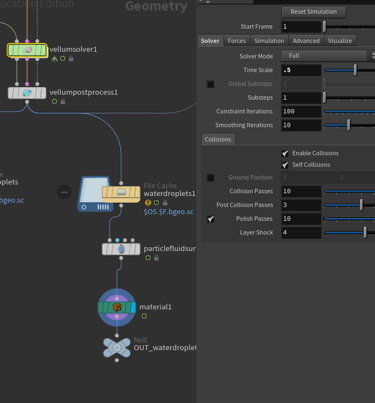
R&D for Shot 5 – Ripples
So I also tried to create ripples on the lake in Shot 5 to show that water droplets fall from the bottles into the lake, creating ripples. I used a Ripple Solver with a grid and animated a sphere, but I will probably try using RBD with gravity next week to achieve a more accurate simulation.
January 31, 2025

January 30, 2025
R&D for Shot 5 – Fluid
Issue 1: Animated Collision
After getting the collision movement to work for the particles, I encountered an issue—loss of volume, which prevents the bottle from filling properly. This happens when particles escape or disappear during the simulation, leading to an unrealistic result.
Issue2 : loss of volume
I found some solutions to address this problem:
Ensure the collision object is thick enough to avoid leaking. If the collision geometry is too thin, particles may pass through, causing volume loss. Increasing the thickness helps contain the fluid properly.
Increase substeps. More substeps improve the accuracy of the simulation, reducing errors that lead to particle loss.
Apply and decrease particle separation. Lower particle separation increases resolution, making the fluid more stable and reducing gaps between particles.
Turn off reseeding. Reseeding can sometimes remove particles unexpectedly, leading to volume loss. Disabling it prevents unwanted changes in particle count.
Decrease the particle radius scale. A smaller particle radius scale helps maintain proper volume distribution and prevents excessive shrinking of the fluid.
January 30, 2025
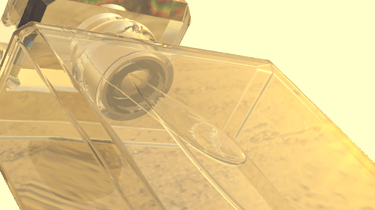
Shot 4 – Water Droplets Slap comp with new camera
So today in class, my team and I received feedback from our professor, so we made some adjustments again. This is Shot 4 with the new camera. Since I have been busy with my thesis, I will work on softening the edges of the mesh next week and try to keep the water droplets round as they move down the bottle. When I was rendering today, I still had some issues with missing mesh. I think I need to use $F after retime to avoid this.

R&D for Shot 4 – Water Droplets
approach 1 - vellum fluid
I was trying to keep the water droplets round while also leaving a realistic trail of residue as they moved. I spent a lot of time tweaking the volume settings to get the best result. I came across a video comparing different surface tension values, which helped me understand the effect better. I also used friction to keep some particles on the surface, making the residue more believable. Next, I’m going to experiment with a wet map or trail node to see if there’s a better way to achieve this effect.
January 28, 2025


COMPARISON: Surface Tension, Sheeting
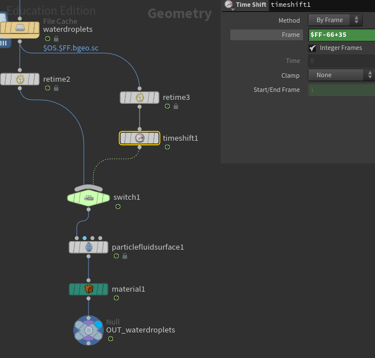
Since I was working with slow motion for the water droplets, I thought it would be better to blend slow motion with normal speed for a more natural motion. To achieve a smooth transition between the two speeds, I used a Time Shift node along with a Switch node.


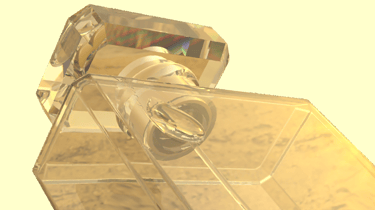
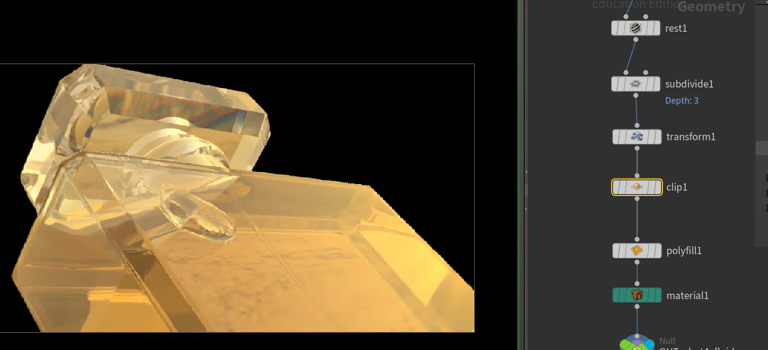
For Shot 4, since the bottle remains stationary, I used a Clip node to generate a mesh inside the bottle as an efficient workaround.

slap comp for shot4
R&D for Shot 4 – Water Droplets
I was struggling with slow motion for fluids because the point count was changing. I found this page helpful and tried a couple of ways to solve the issue:
https://www.reddit.com/r/Houdini/comments/16tnzqq/why_is_this_happening_to_my_flip_sim_when_i_try/
Slow Motion for FLIP Simulation
Because of how FLIP Slover handles reseeding, it doesn't maintain consistent point counts across frames. Some frames will add points, while others will remove them, causing issues since retiming relies on consistent point counts.
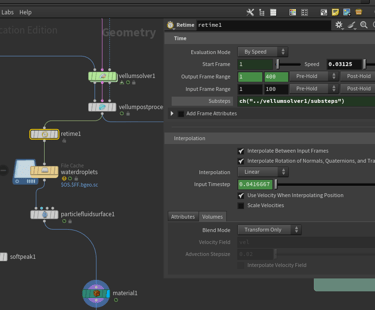
Approach 1 - Retime Before Meshing
I found that retiming the particles before applying the ParticleFluidSurface node works best for achieving accurate slow-motion effects. This is because the ParticleFluidSurface node generates a surface mesh based on the particles' positions, velocities, and densities. By retiming the particles first, I can ensure the mesh aligns with the adjusted particle behavior, creating smoother, more consistent results in the slow-motion simulation.
Approach 2 - Handling Time Scale and Substeps
I ran into a few issues where the mesh would appear in the scene view but disappear in the render view every other frame. For example, the first frame has the mesh, but the second and third frames don’t, and the fourth frame shows the mesh again. While working on this setup, here’s how I solved it:
Issues and Solutions
Issue 1: Mesh Disappearing with $FF Naming
I ran into issues with cache naming, even though both $FF and $F resulted in the same file names. The problem wasn't with the file name itself but rather with how Houdini evaluates the frames. Despite the names being the same, Houdini handles fractional frames differently, which caused issues with mesh consistency and playback.
Solution:
I switched to using $F for the file naming, which ensures integer-based frames for the cache, avoiding the issue. $FF is for floats, while $F is for integers.
Issue 2: Time Scale Affects Force Strength
Changing the time scale affects how forces behave in the simulation. A higher time scale makes forces appear stronger because they’re applied more rapidly within the same timeframe, while a lower time scale weakens the forces.
Solution:
I had to adjust the forces in the solver to account for these changes in the time scale, ensuring that the simulation stayed consistent with the desired effect.
January 27, 2025
These are some really good resources I found for flip simulations, especially for slow motion.
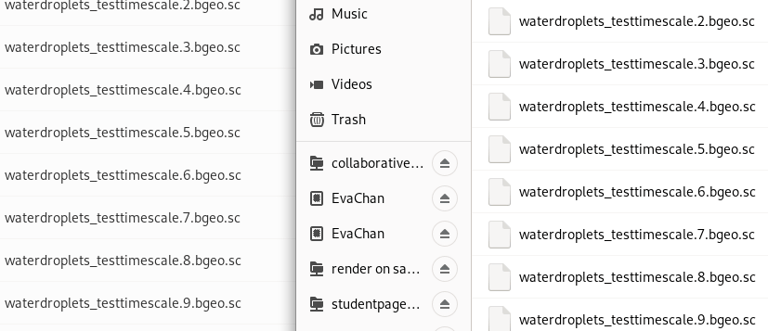
Even with the same file cache name between $FF and $F, it’s still causing issues.
time scale 0.5
retime before particle fluid surface
timescale
substeps + retime
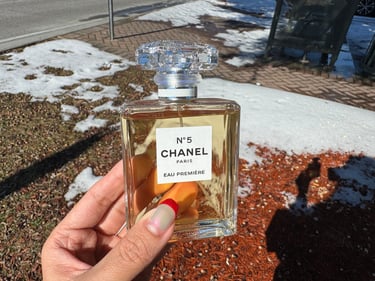
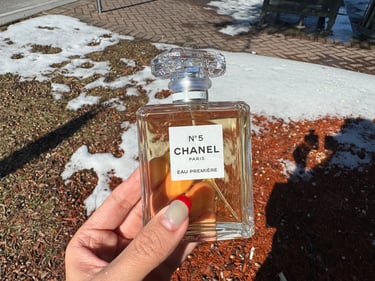
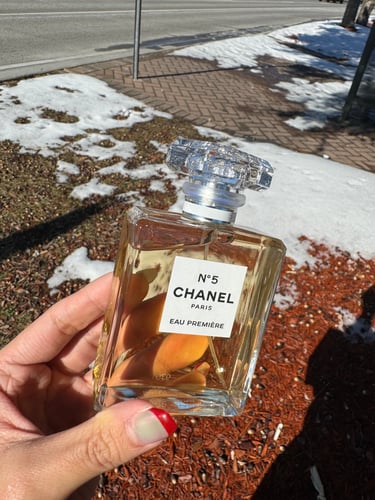
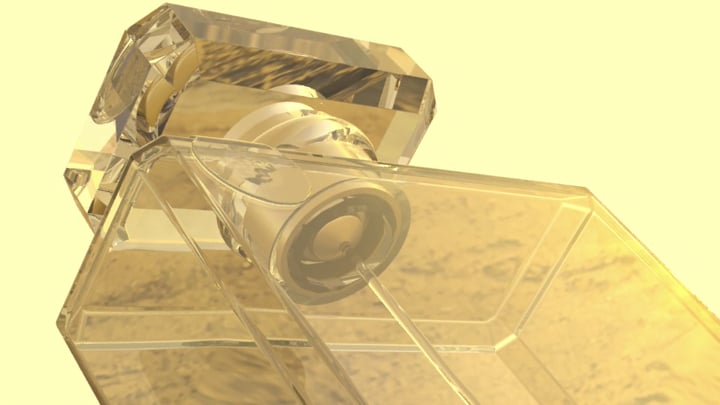
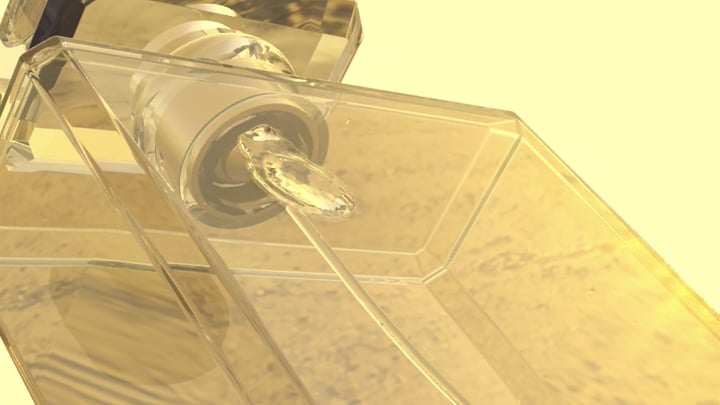
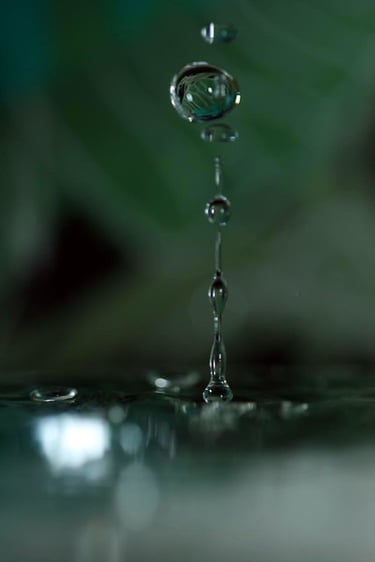
Reference for Shot 4 - Water Droplets
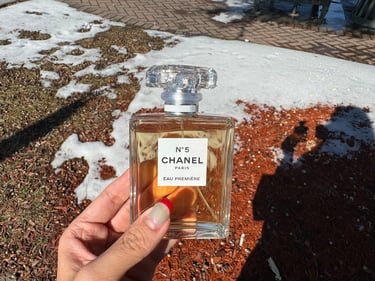
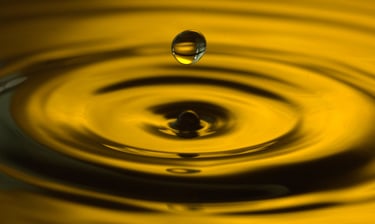
Reference for Shot 5 - Fluid in the bottle


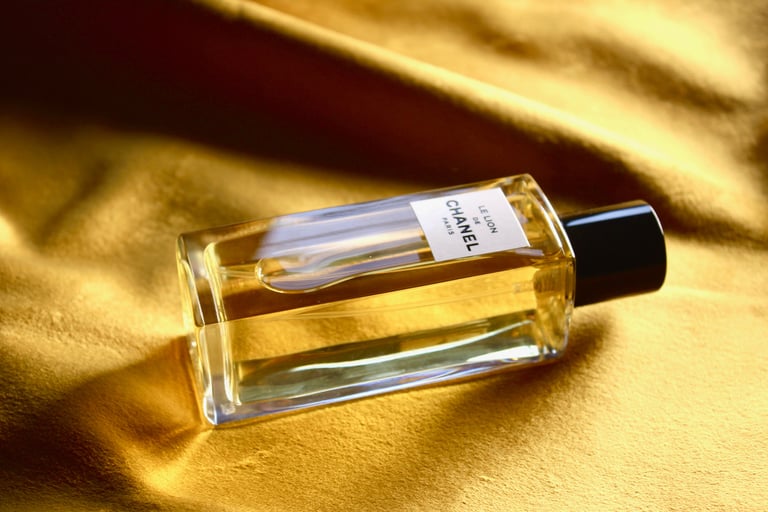


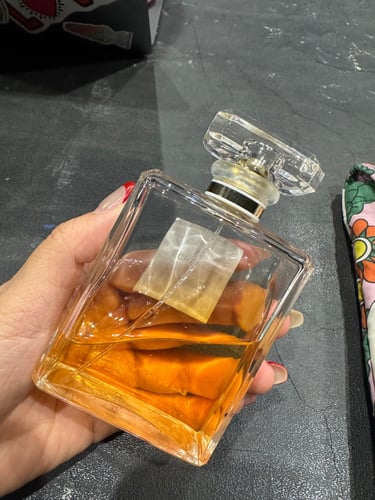

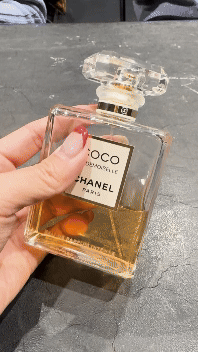
Reference pictures and videos were created by me. Special thanks to Professor Gaynor for providing the Chanel bottle.
full bottle fluid reference
Full Bottle Fluid Moving Following the Motion in Previs Reference
Reference Shooting by Myself
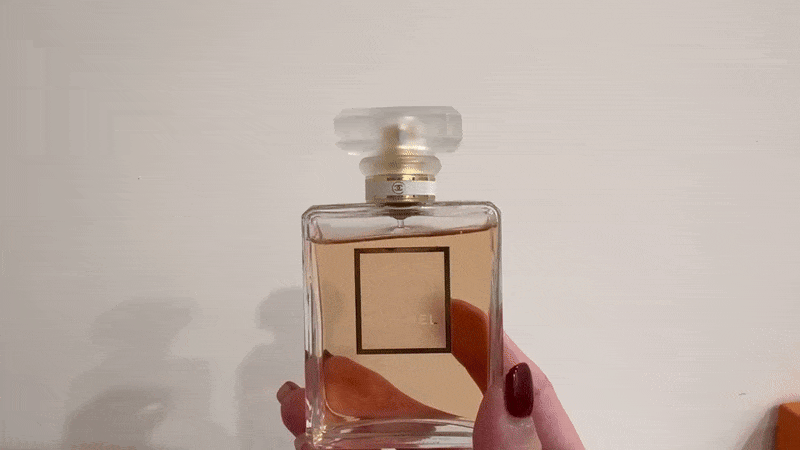

Reference Shooting by Myself

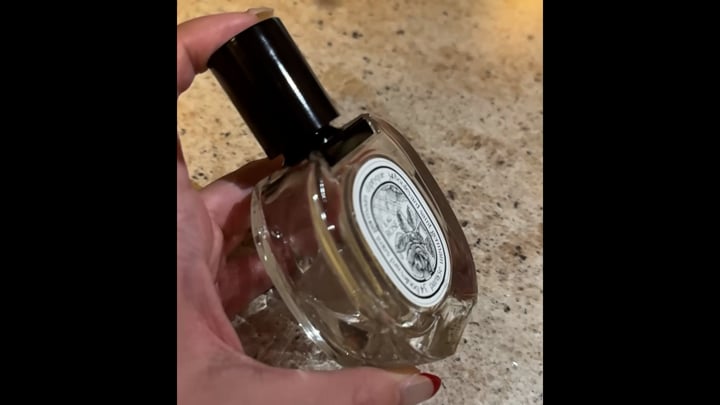
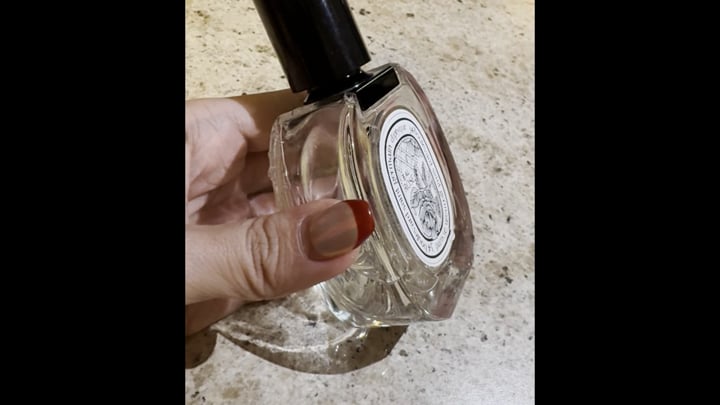


slow motion
slow motion