SCAD x The Mill NY update 10
SCAD X THE MILL NY
10/29/20242 min read
Feedback / Notes:
Emily
framing works better
shadows in center part match to exterior painting
A02 - shadows by frames
A02 - shadows of her?
shadow of painting person onto frame
push the transition to color
Mazyar
A02 - consider the shadow and distance working on the arm
shadow of wires in center get rid of shadows or leave(they look thick)
balance color
David
looks great
motion blur the skittles
bands are layer down - maybe add a bit of randomness
color wash of smoke
lose the shadow on the vase
Adjustments I am going to do this week:
add motion blur to the skittles
add randomness on the animation of skittles(reramp?)
increase color variation on smoke?
Enhancing Organic Motion: Adding Randomness to Temperature Attributes
This week, I received some helpful feedback from our mentor, David. He suggested adding motion blur to the Skittles, layering the bands with a bit more randomness, adding a color wash to the smoke, and removing the shadow on the vase.
The first thing I want to focus on is adding some randomness to the temperature attribute to make the Skittles spread more organically. At the same time, I’d like to maintain the timing as much as possible to avoid affecting the entire simulation.
I’ve been tweaking the values of noise size and amplitude to get the best results while keeping the central Skittle flat.
previous


fixed
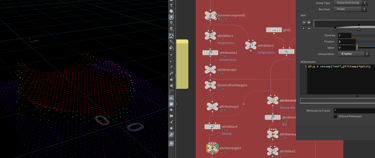
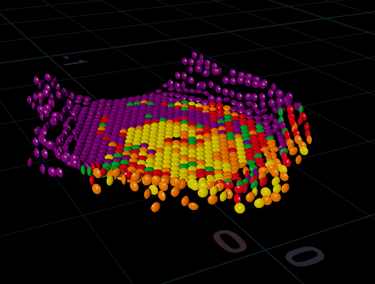


Cd attribute of pyro / particles
Based on David's feedback about solve the color wash issue to the smoke, I’ve been working on giving the pyro effect more color variation and clarity. Right now, the colors are blending together too much, so I’m aiming to make each hue stand out more distinctly.
My first approach was to use a blast node to separate the colors for individual control. However, I encountered an issue: some colors didn’t have enough points in the source. As a result, when I transferred the points to the volume, the colors appeared washed out.
Since the first approach didn’t work, I tried another method by adding more green and red to the source. I also reduced the voxel size to capture the color values more accurately.
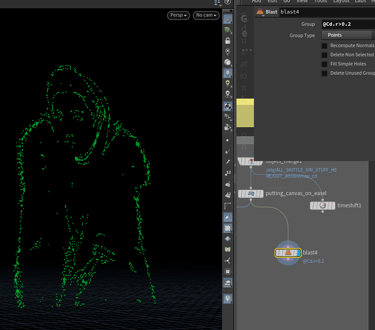
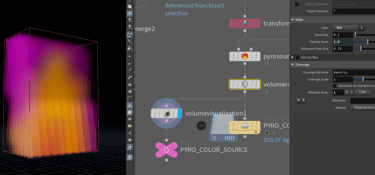
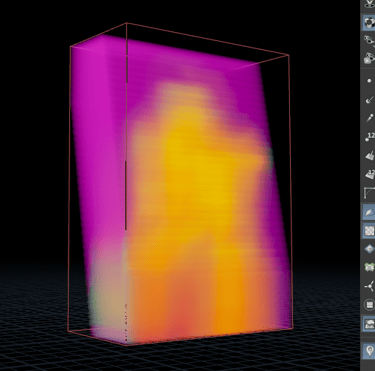
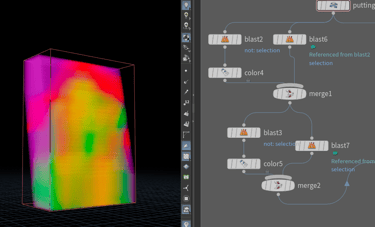


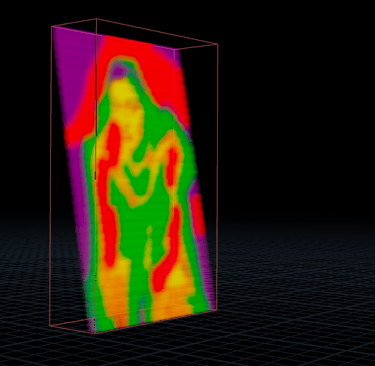
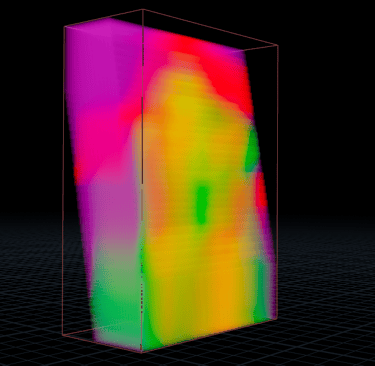


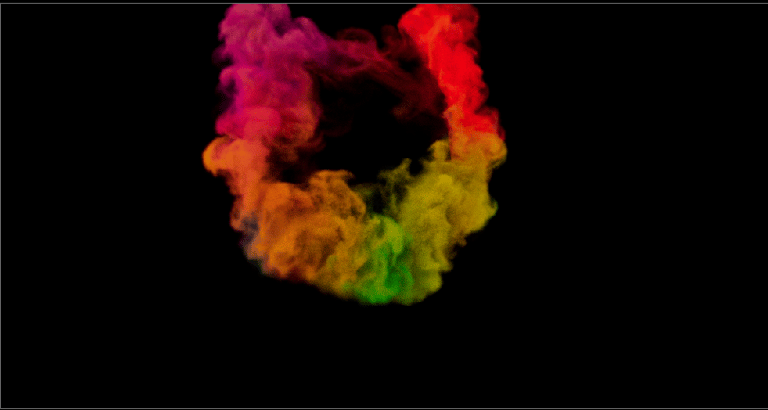


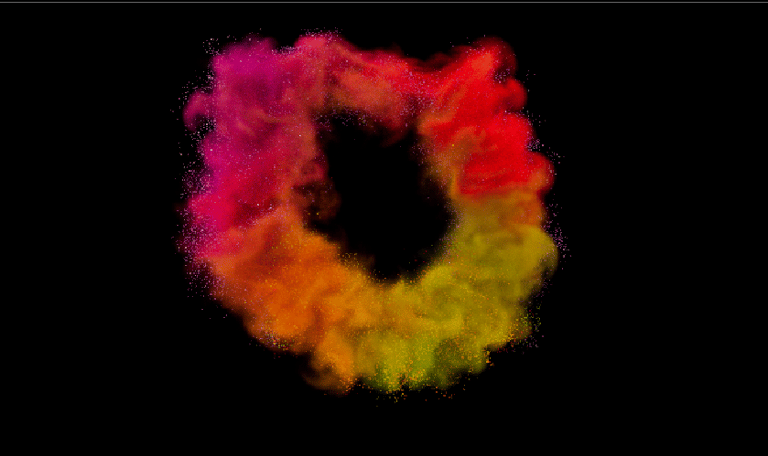
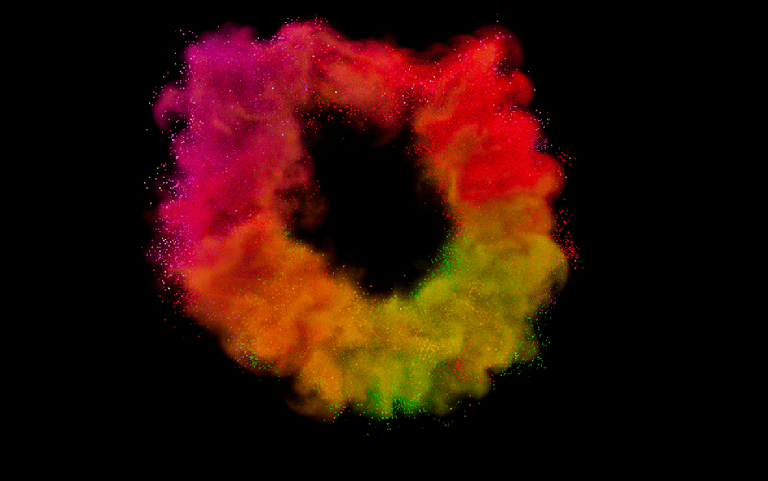
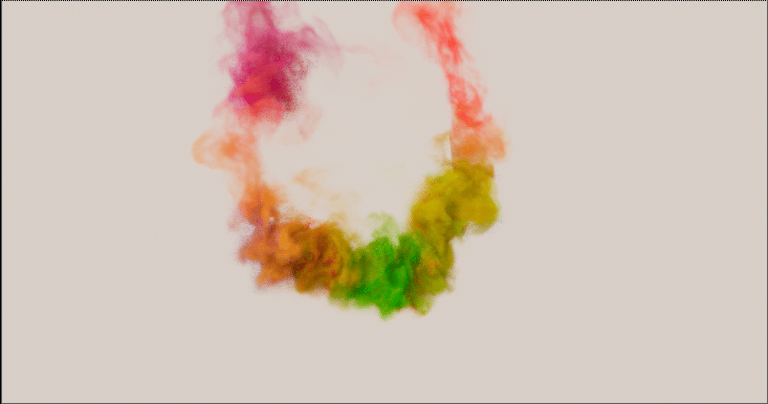


get the color separately
voxel size .1
voxel size .005
add more red and green
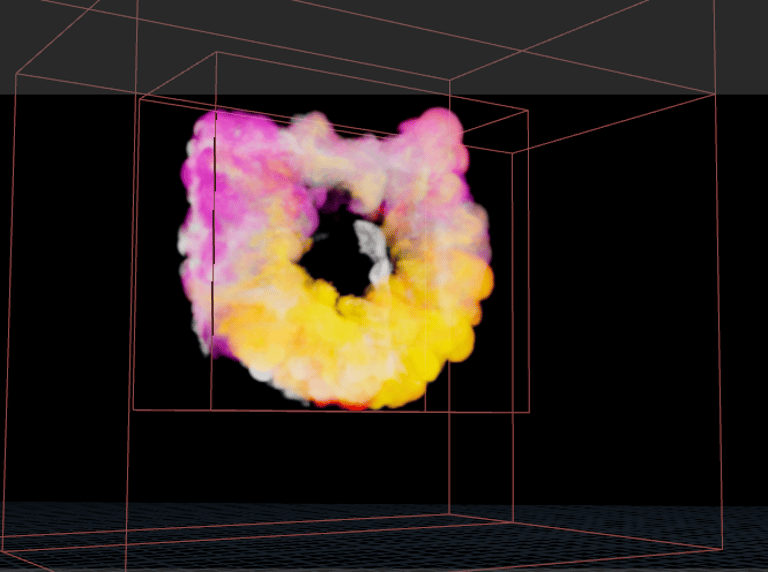
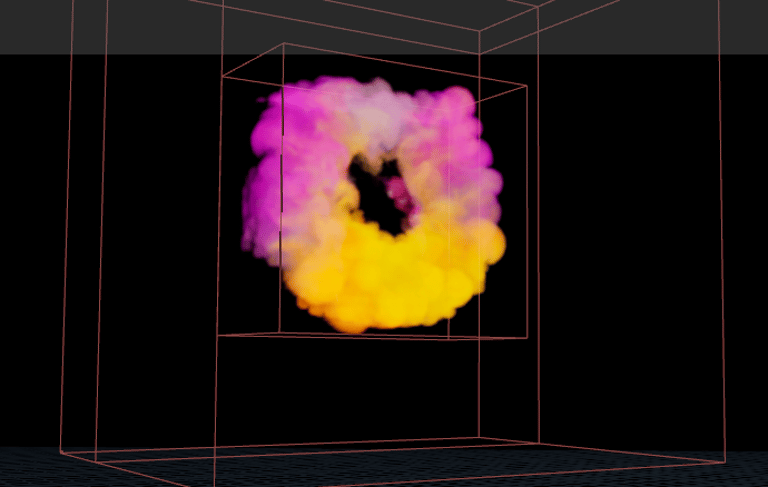
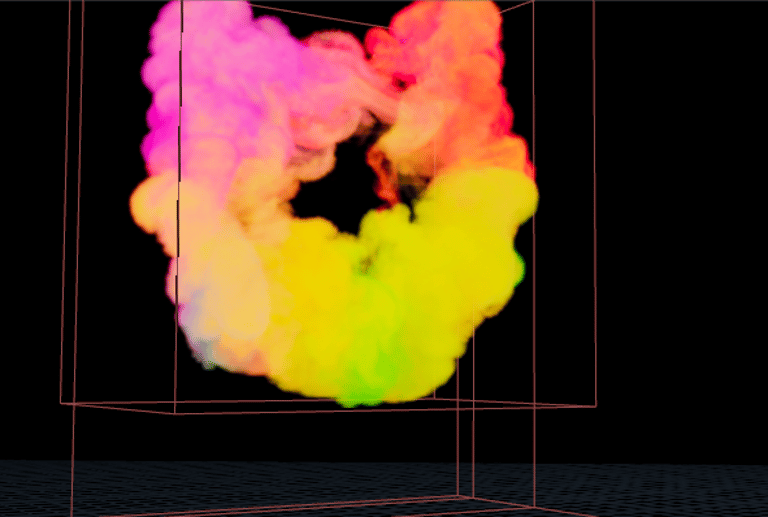
I ran into an issue with this approach. To capture as much color information as possible, I reduced the particle size. However, this made the volume thinner, and after simulation, the pyro couldn’t fully pick up the color data from the source, leaving some parts of the pyro effect white. To fix this, I minimized the voxel size and set the particle size to 1.5 to increase thickness, allowing the pyro to retain as much color as possible.
particles size 1.5
particles size .1


particles size .1
particles size 1
particles size 1.5
Since the pyro colors are now different, the particles’ colors aren’t matching the pyro in the same spots, making the particles stand out more. I also ran a test to transfer the same Cd to the particles to better match the colors. I do like the effect of having the pyro and particle colors align at the same locations.
render view
old particles color
particles color from pyro Cd source
pyro
pyro with particles
color correction in nuke test
Rendering / Samplings / motion vector setting
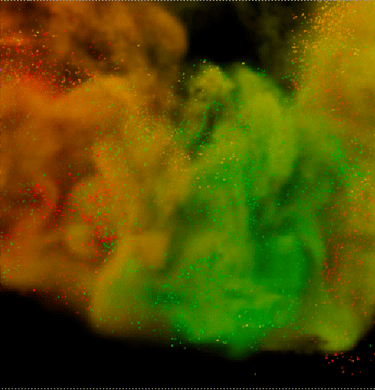

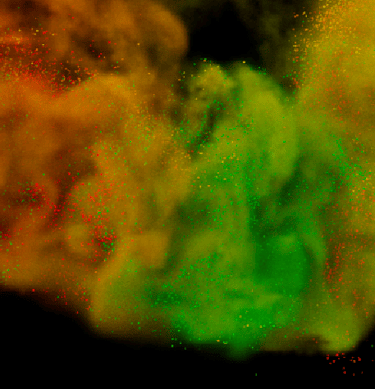

samplings: volume indirect 6
ray: diffuse 2 / specular 2 / volume 3
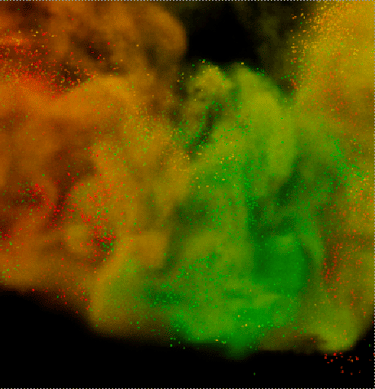

samplings: volume indirect 3
ray: diffuse 2 / specular 2 / volume 3
samplings: volume indirect 3
ray: volume 3
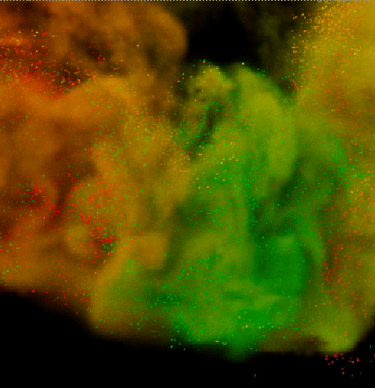

samplings: volume indirect 3
ray: volume 2
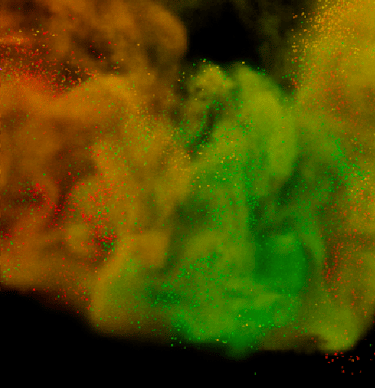

samplings: volume indirect 3
ray: volume 1
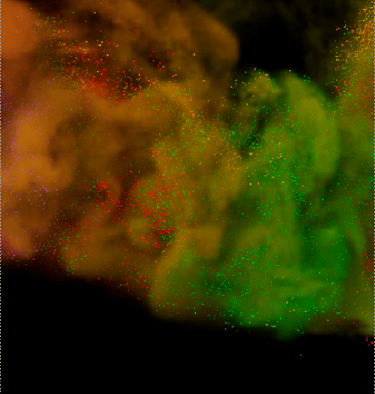

samplings: volume indirect 2
ray: volume 0
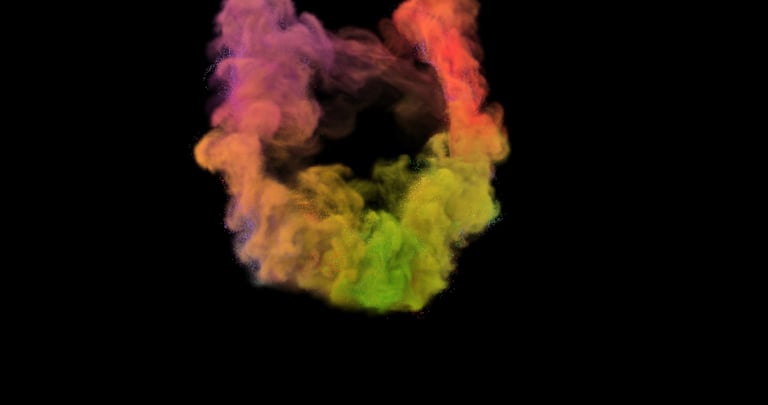

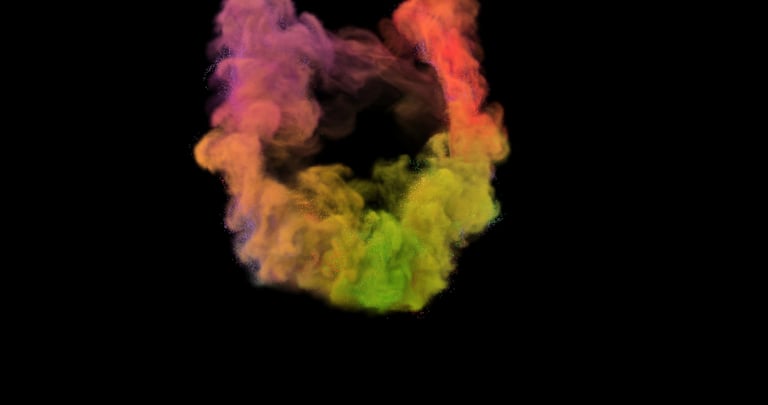

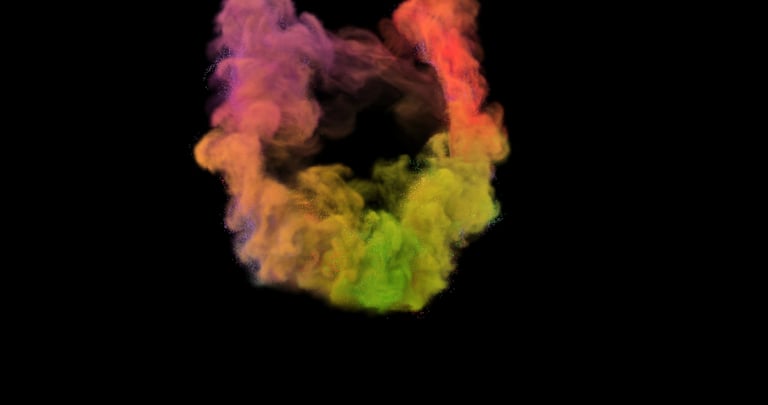

samplings: volume indirect 3
ray: diffuse 2 / specular 2 / volume 3
render time: 05m01s
samplings: volume indirect 6
ray: diffuse 2 / specular 2 / volume 3
render time: 07m57s
samplings: volume indirect 6
ray: diffuse 2 / specular 2 / volume 6
render time: 09m32s
