SCAD x The Mill NY update 4
SCAD X THE MILL NY
9/7/20242 min read
Previs updated
9/22/2024

FX R&D - RBD (shot6)
9/21/2024
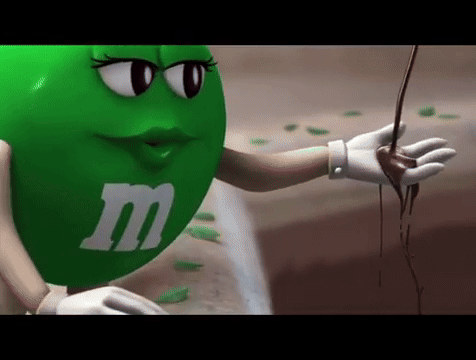
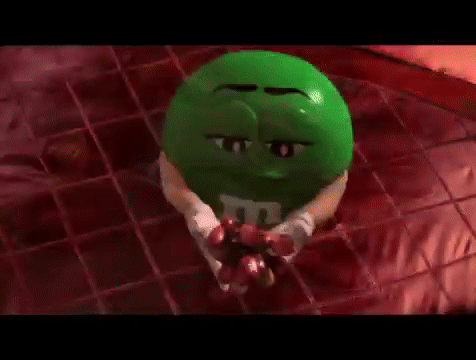
Reference

in dop / wind
substeps 8 + retime 0.125 / wind too much
add five skittles / + collision

For Shot 6's RBD, I used a camera volume to clean up the geometry outside the camera's view. Initially, I used rbdBulletSolver, but I found that using rigidbodysolver in DOP gave me more control and flexibility.
wind 3
rbd test without slow motion
substeps 1 / wind force 3


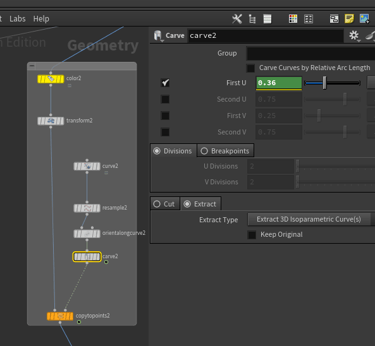
For the five close-up Skittles, I used a curve and keyframed the carve node to control their path.
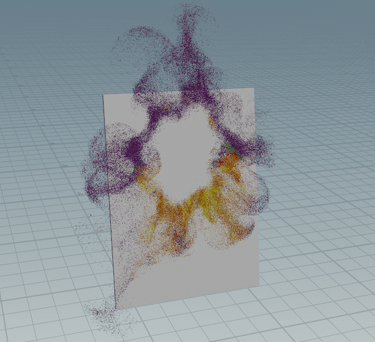
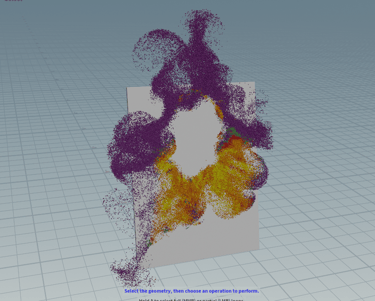
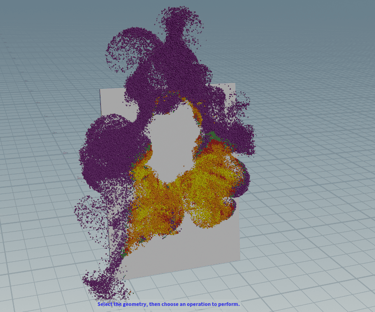
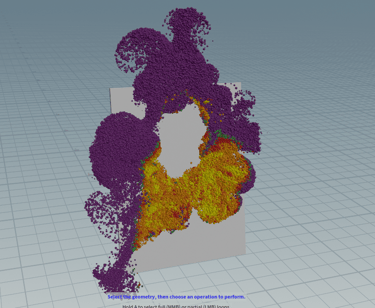
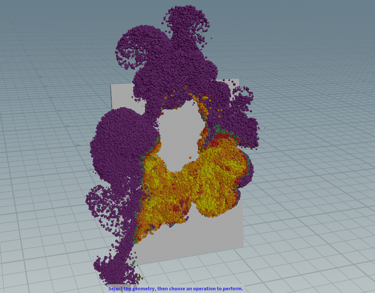
FX R&D - Pyro / Particles (shot3)
9/19/2024
test1


test2 - collision / turbulence
test3 - density 1

+ particles from the same source


wind + popforce
randomize pscale / transfer @Cd / lit spheres display / GasTurbulence for pyro

attribute transfer sop / v = 1


attribute transfer sop / v = 2
0.00149984-
This week, I’ve been working on testing pyro and particle effects for Shot 3, as well as RBD for Shot 6. My goal is to have the color spread out, with the pyro and particles seamlessly following along.
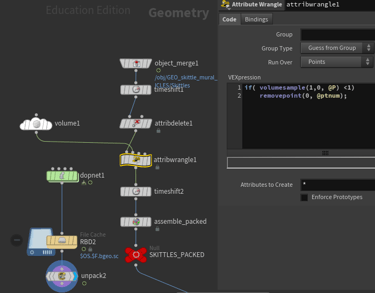
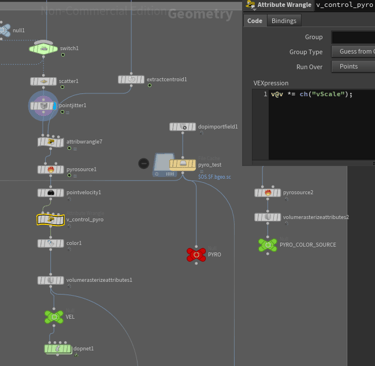
To create the pyro source, I used the @fittemp attribute to get two values and converted them to RBD to prevent gaps in the geometry. I then applied an isooffset to generate the volume. A switch node was added to control which frame the pyro would trigger.
Next, I used extractcentroid to find the source's center point, subtracted it from @P, and normalized the result to ensure @v pointed outward. I then fed this into the DOP network to drive the simulation.
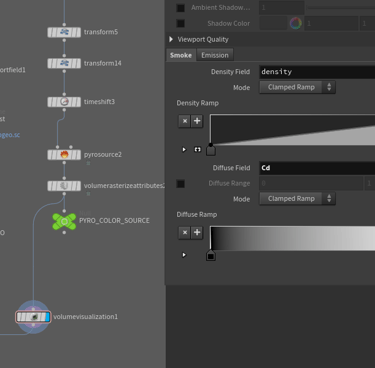
Transferring @Cd to Pyro Issue
Initially, I was trying to transfer attributes to get the pyro color and realized that I could only transfer attributes to geometry. To resolve this, I set up the volume using @Cd from the map, which is the same source used for copying to points. I also created a separate volume source specifically for @Cd and connected it to the volume using the SOP path.


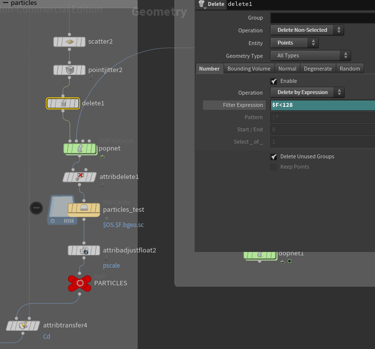
Particles Scatter Issue
For the particles, I experimented with different sources to test various results: one from the same source as the pyro and another from after the pyro simulation. I noticed some odd particle flow, so I used a delete node to remove those particles after a certain frame.
attribute transfer @Cd to pyro
I encountered a few issues but was able to find solutions for them:
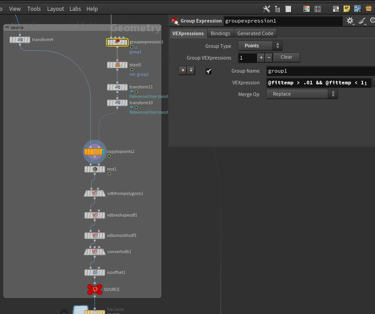
Scatter Issue: To fix this, I used delete $F > to remove the unwanted points over time.
Transferring @Cd to Pyro: I resolved this by transferring @Cd in SOPs.
Pyro Stuck in the Bottom Right Corner: I addressed this by adjusting the scale of v@v to push the pyro further
Mushroom Shape for Pyro: I want the pyro to have a mushroom shape, and I’ve found a few potential solutions for this. I haven't had the chance to test them yet, but I plan to do so soon.
Coarse Sub-Steps and Brute Force Global Substeps
Pyro Solver Substeps (currently set to 1)
Keyframing Timescale (though I prefer not to explore this to avoid wasting simulation time)Temperature Field and Divergence Field
Temperature and Gas Buoyancy DOP
Working Temperature with Disturbance
Divergence and Burning Fuel
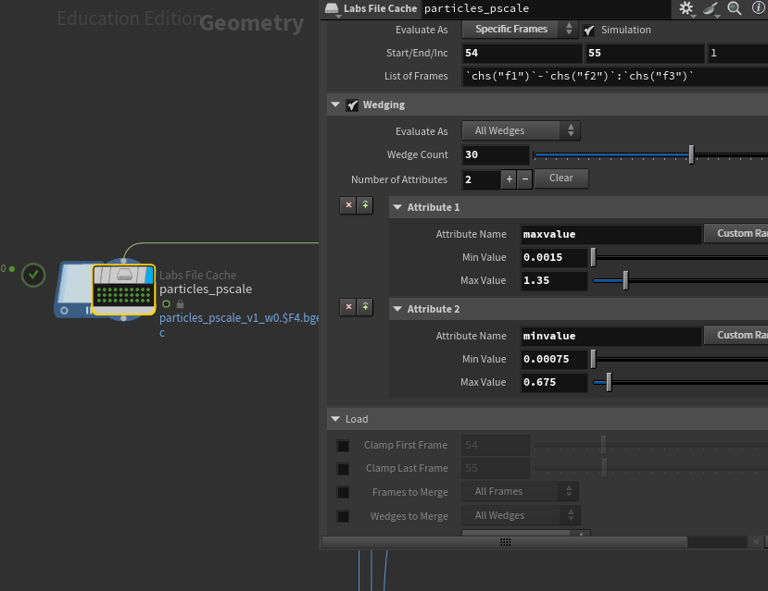
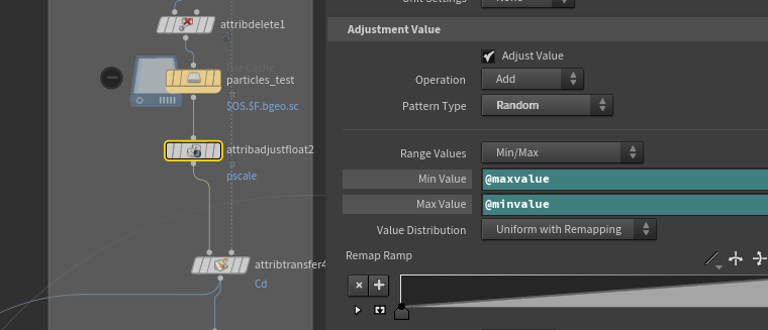
Wedging test particles pscale
This is my first time using Wedges, and I found these two videos helpful
By using Wedges, I can render multiple values with just one node. In the Labs File Cache, I enable wedging, create the attribute I want to test, and input the values or range I want to try. After saving the results in the background, I can load them back into Houdini. This makes it really convenient to compare different values.

source from pryo
0.00299969-
0.00599938-
0.00449953
0.00749922-
0.00899906-9.55939e-7