Shattered Light Bulb
PARTICLES PROCEDURAL EFFECTS
Eva Chan
8/20/20246 min read
Responsible for: All aspects
Software: Houdini, Nuke
Renderer: Redshift
Skills: FX, Modeling, Shading and Texturing, Lighting, Compositing
Blog
update5
Date: MAY 28 2024
Houdini Version: 19.5.640
Render: Redshift 3.5.22
Average render time: 4.6 min/frame
Resolution: 1280x720
Render Quality: High
Samples: 6/4/4/6/1/16
Mmin/Max rays: 4/4
Number of lights in scene: 1 rslightdome WITH 2k HDRI
Complexity of geometry: points 26,797 / primitives 18,209/ polygons 22,972

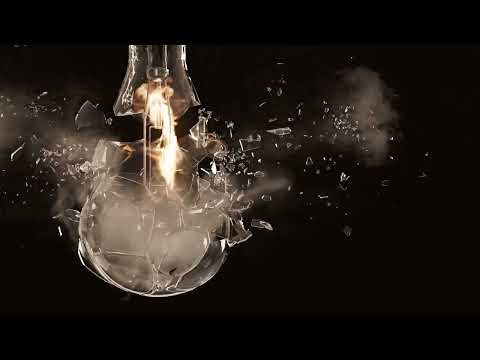
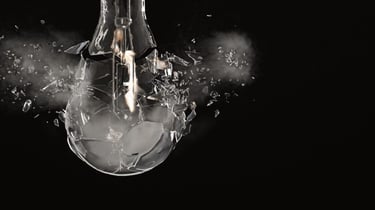
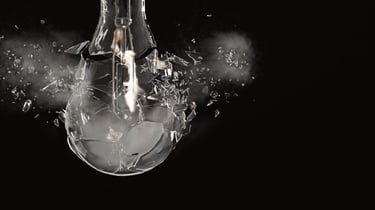
Final Render
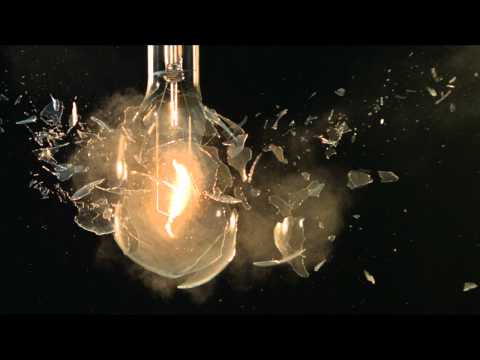
Reference
Adjustments I did:
Added emission AOV.
did the orange tone for the pyro in post.
Adjusted the color of the flame, as it was too red.
Animated the noise for the source of the swirling pyro.
Increased the scale of point jitter to adjust the size of the pyro on the two sides.
Corrected the position of the fire for the last few frames by using point deform.
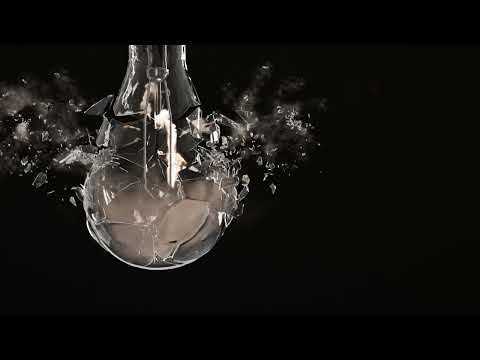
Render Test 2
Animate flame
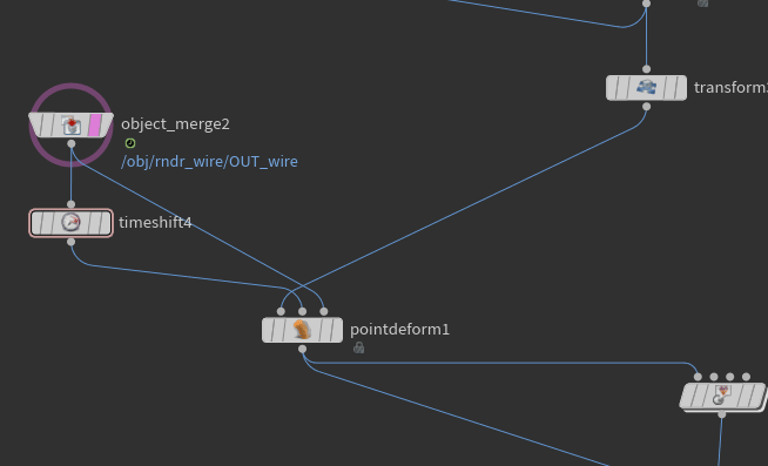

Utilize the point deform node to make the flame move along with the wire.
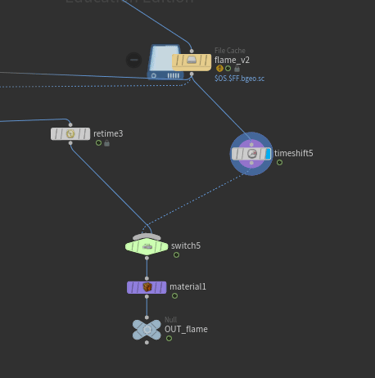
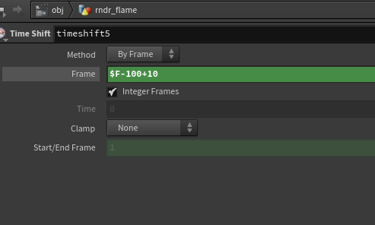
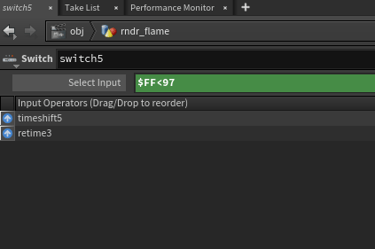
Retime in Houdini
Glow in Nuke




update4
Date: MAY 27 2024
Houdini Version: 19.5.640
Render: Redshift 3.5.22
Average render time: 9.2 min/frame
Resolution: 1280x720
Render Quality: High
Samples: 6/4/4/6/1/16
Min/Max rays: 4/4
Number of lights in scene: 1 rslightdome WITH 2k HDRI
Complexity of geometry: points 26,797 / primitives 18,209/ polygons 22,972

Render Test 1

Reference
Adjustments I am planning to do:
Added emission AOV.
Reduced the orange tone for the pyro.
Adjusted the color of the flame, as it was too red.
Animated the noise for the source of the swirling pyro.
Increased the scale of point jitter to adjust the size of the pyro on the two sides.
Corrected the position of the fire for the last few frames by using point deform.
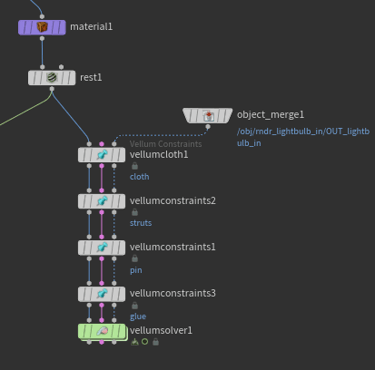
Wire vellum simulation test
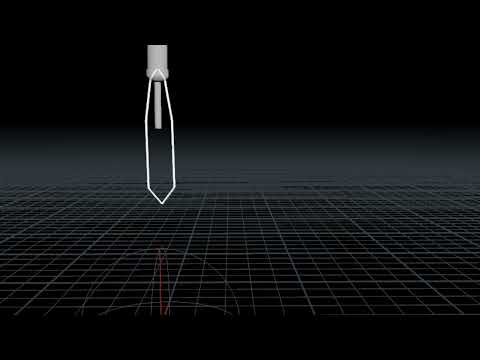
At first, I tried using Vellum to simulate the shaking wire inside the lightbulb, but it didn't look the way I wanted. I think it might be more effective to use a bend modifier and animate the wire manually, which could give better results without the need for simulation.
X - Vellum
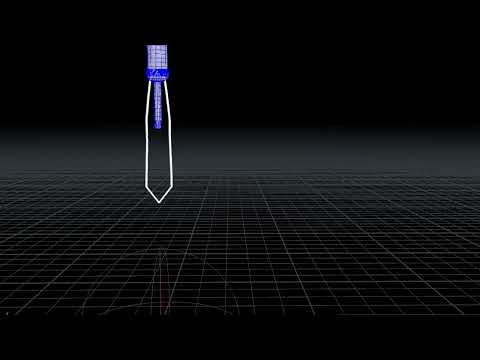

V - Animation
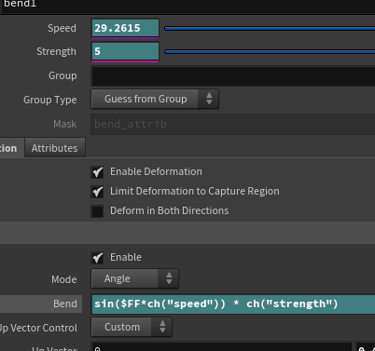
I decided to use a bend node and applied a sine function to multiply the parameters I created for speed and strength.

Flame
For the flame, I had a hard time getting the result I wanted, so I kept adjusting the speed and direction of the wind. I also lowered the flame lifespan since the flame was too intense before.
X - The shape of the flame is too much, and pyro is not enough
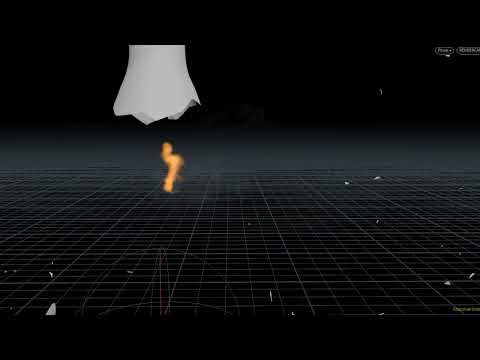
Flame Lifespan = 0.06
I want the flame to be smaller, but I want more pyro. So, I've been trying to achieve the closest result by adjusting the Flame Lifespan and Dissipation values.
V - Flame Lifespan = 0.005, Dissipation = 0.001
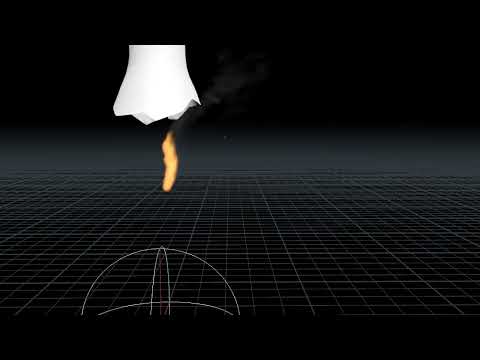
Flame Lifespan = 0.02, Dissipation = 0.01
X - The shape of the flame is still too much
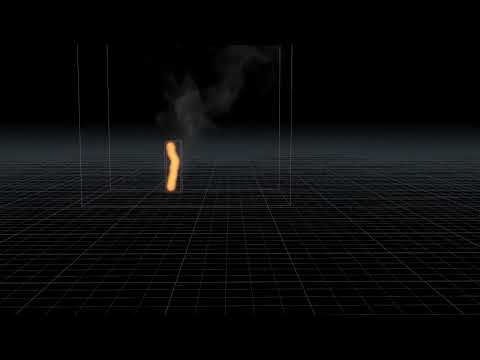
Flame Lifespan = 0.02, Dissipation = 0.01
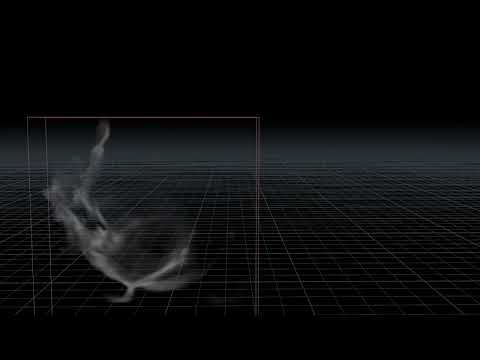
Pyro swirls inside the lightbulb
V - velocity field
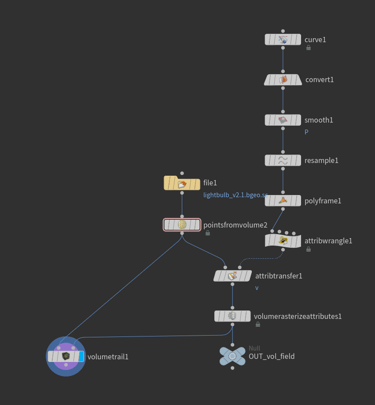
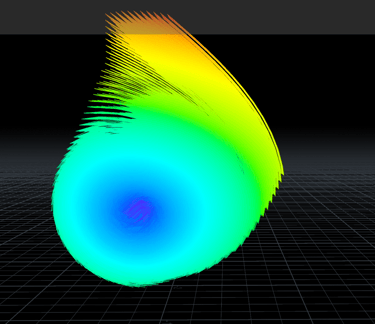


For the swirling pyro, my second attempt involved using a velocity field. Initially, I used a curve to define the path along which I wanted the pyro to move. Then, I utilized polyframe to obtain the normals and adjusted their directions. After that, I created a parameter called 'scale' to control the speed of my velocity.
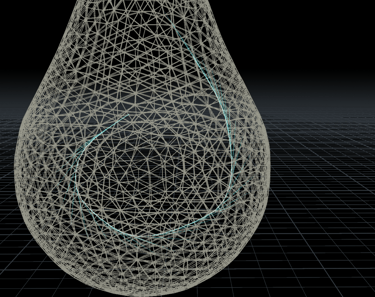
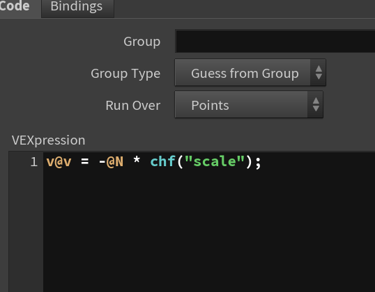


After that, I used attribute transfer to transfer the normals from the lightbulb geometry to the points.
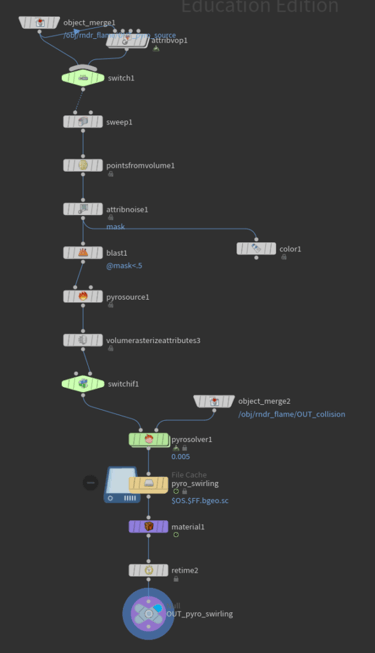
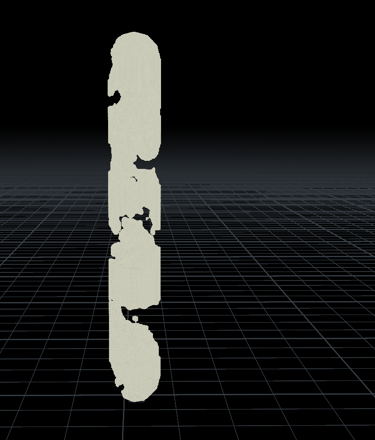


For the pyro source, I used the same geometry as for the flame. I simply added attribute noise for the position (P). Additionally, I used a switch-if node to ensure that the pyro only emits from the source for the first few frames.
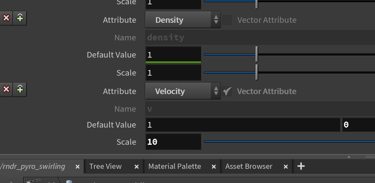
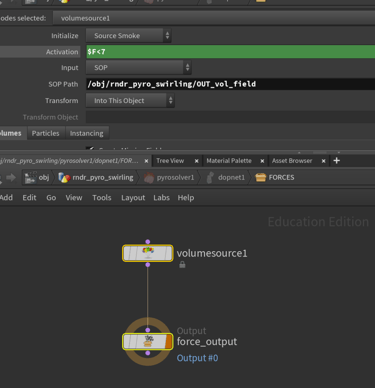


Finally, I set the velocity field value X to 1, ensuring that the pyro moves right to hit the lightbulb. Additionally, in the pyro solver, I assigned the path from the velocity field so that the pyro follows it.
Look Dev
Now I have an issue after rendering; the pyro has a lot of noise. I found this video where they suggested increasing the volume samples, enabling denoising and set up Brute Force to Secondary GI Engine in RedshiftROP.

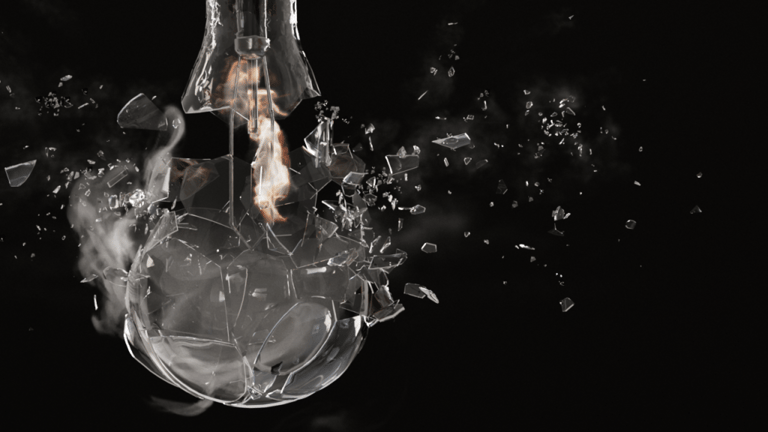
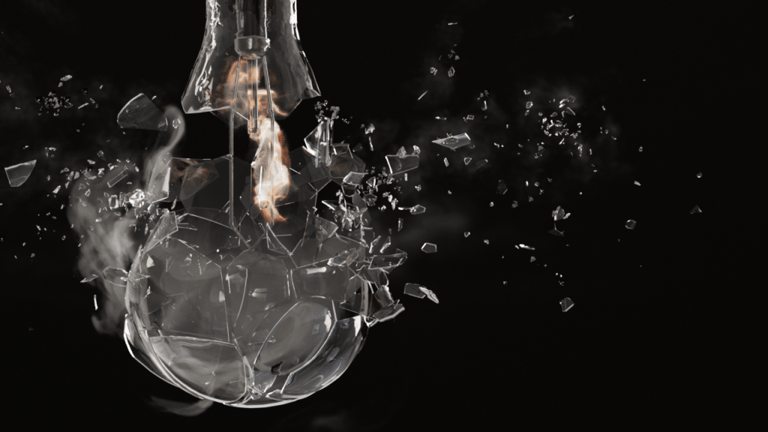


medium / refraction6 voulume1 / render time 3m18s
medium / refraction12 voulume12 / render time 5m17s
high / refraction6 voulume1 / render time 6m51s


high / refraction12 voulume6 / render time 14m38s
high / refraction6 voulume1 / Irradiance Point / render time 2m58s
high / refraction6 voulume1 / Brute Force / render time 3m34s
Based on the render time and the noise level, I decided to go with high settings using the default samples with Irradiance Point. Although the render time was longer, there wasn't too much difference in noise.
Render test 1
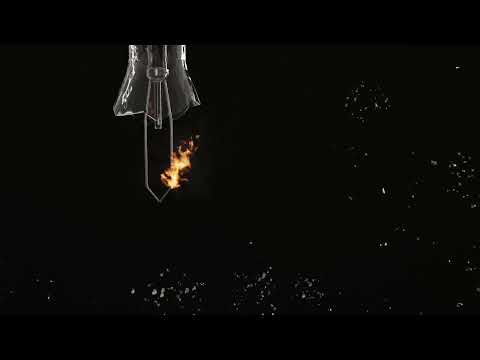
Adjustments:
I added a noise attribute and a blast node to the source of the swirling pyro to make the first couple of frames look more natural.
Keyframe the activation of the pyro source.
I adjusted the color ramp in the material for the flame to decrease the intensity of the red part.
I increased the intensity of the pyro and also made it appear more yellow and orange in tone.
Comp in Nuke & speed up the last couple of frames
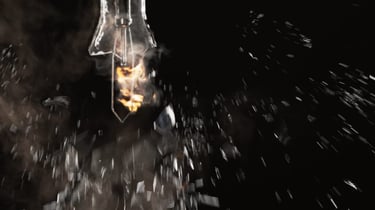
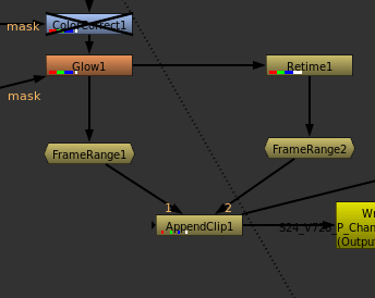


I decreased the number of shutter in the retime node in Nuke to reduce the strength of the motion blur and match it to the reference.
update3

Pyro
This weekend, I am trying to make my pyro look as close to my reference as possible. I found this helpful video that demonstrates how to control the shape of the pyro.
Pyro and Flame collision
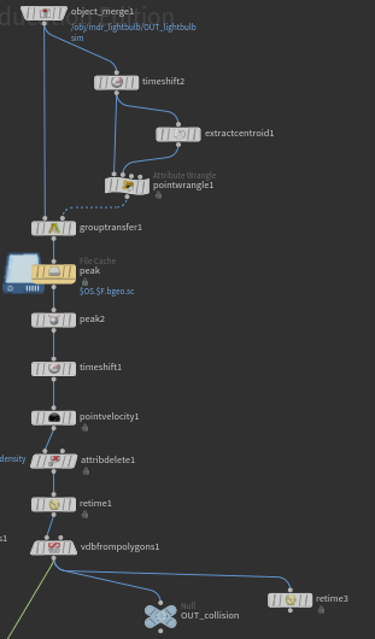
I also encountered an issue where my pyro would go through my collision object. To address this, I attempted to use extrude to increase its thickness. However, since the geometry was already fractured, the extrude caused the geometry to look odd. Instead of extrude, I used peak. However, I only wanted the outer part to become thicker, not the inner part
Dot Product
The dot product equals the cosine of the angle between the two input vectors. Thus, it equals 1 when both vectors share the same direction, 0 when they are perpendicular, and -1 when they point in opposite directions (v1 = -v2).
The direction of the normal for the surface inside the lightbulb is facing inward, and vice versa. Therefore, I can use the dot product to obtain a result of 1 to identify points on the outside of the lightbulb.
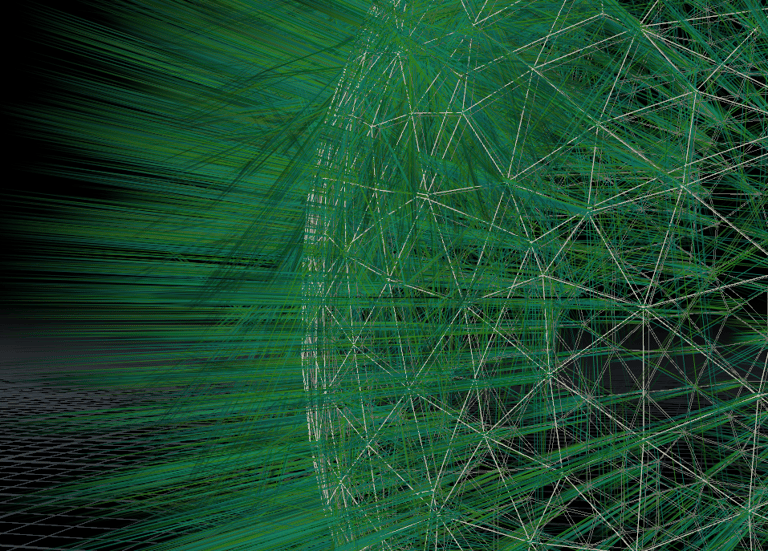
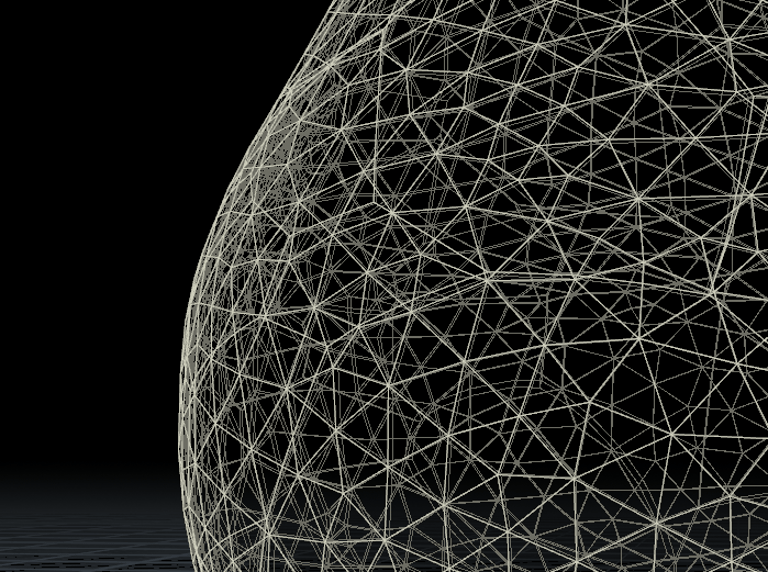
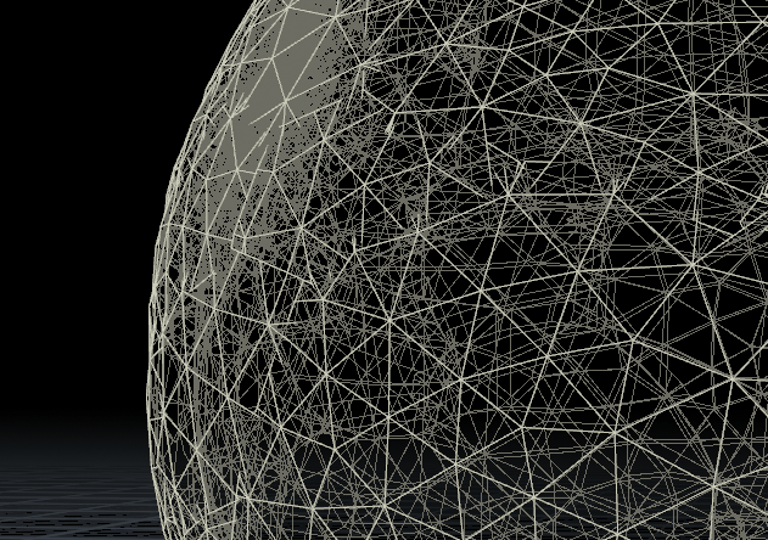


Normal
Before Peak
After Peak
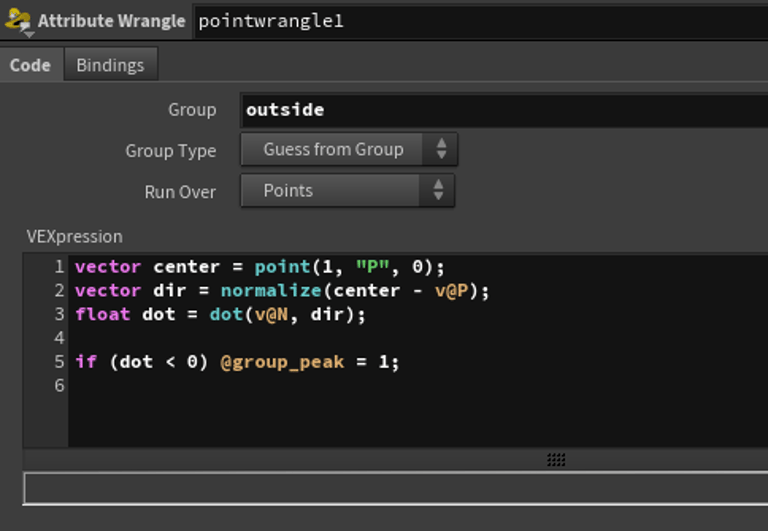

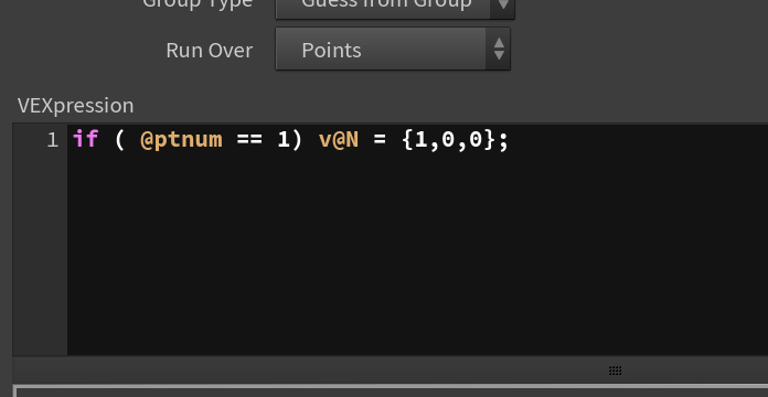
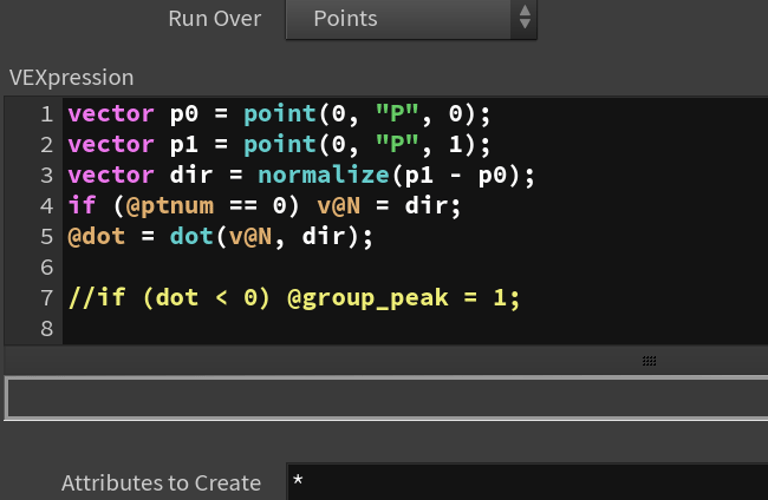
How did I just determine the outside of the lightbulb? I used a mathematical technique called the Dot Product. Initially, I placed a dot in the middle of the lightbulb, and then I subtracted the middle dot from point P to determine its direction. Next, I used the Dot Product to calculate the normal of the point and the direction. If the result is positive, it means that the point is facing away from the center point, indicating that it is outside of the lightbulb; conversely, if the result is negative, it means the point is inside the lightbulb.
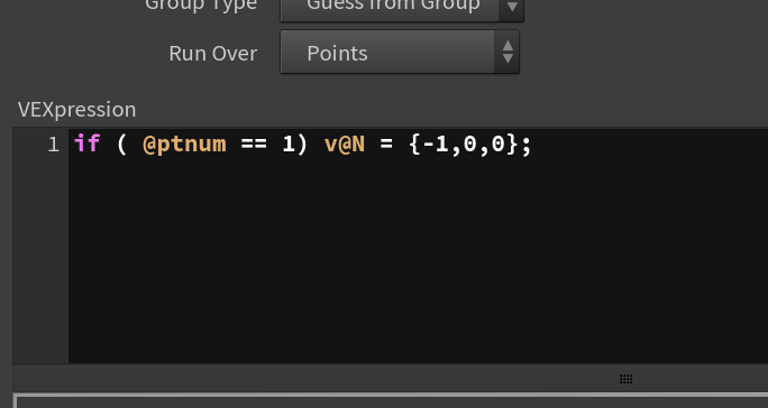
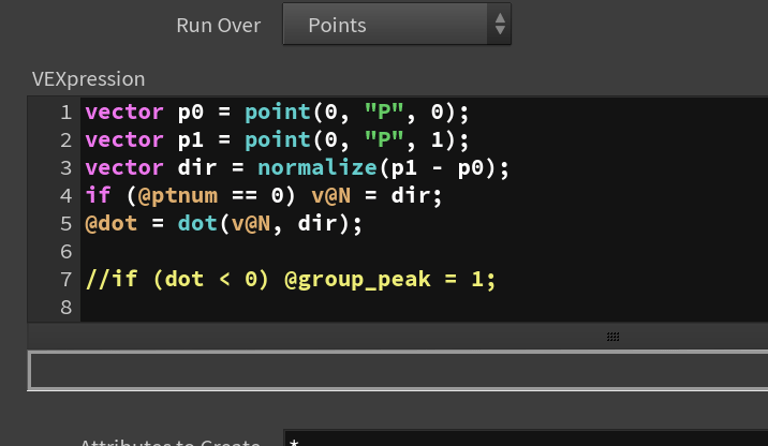


For illustration, add a point at (1,0,0) with a normal -1. Obtain the direction by subtracting the center point from point 1. Then, utilize the dot product function. The resulting value is -1, indicating that the two vectors have opposite directions, and vice versa.


Flame
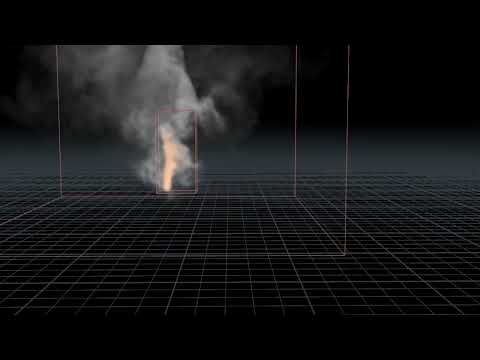
Real-time Flame
The collision for the frame is finally working, but there's too much fire, so I need to fix that.
Look Development
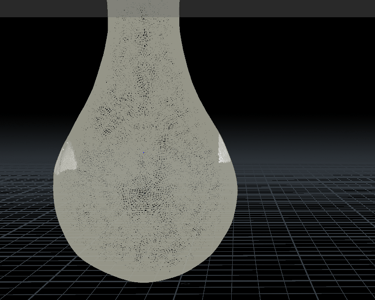
I started doing tests for look development. Initially, because my material is transmission-based, I could see the fractures before the lightbulb breaks. So, I used RBD disconnected faces and chose 'delete connected.' However, it still looked odd, and I found out it was because of the normal.
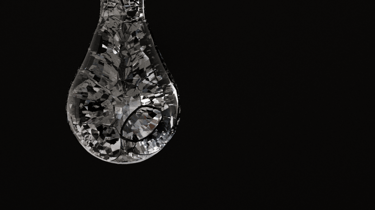
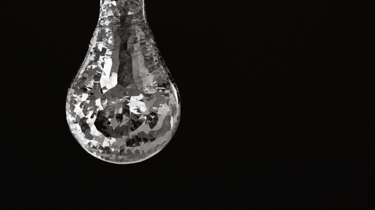
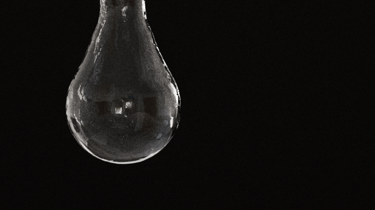
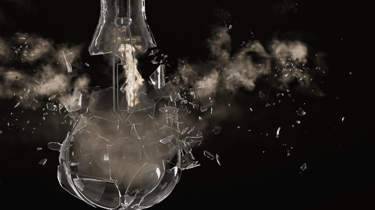


RBD disconnected faces
Normal
Unpack
update2
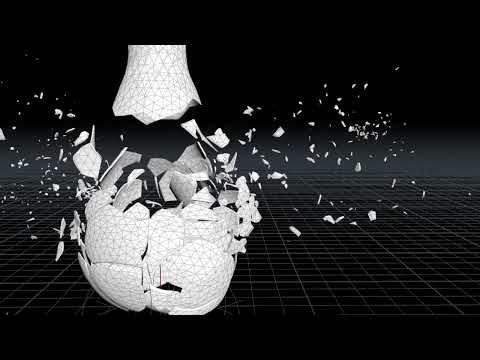
Slow motion test


Pyro
I increased the substeps in the solver and file cache to 16 and used retime to set up the same substeps. One divided by 16 is 0.0625, which is the number representing the speed.
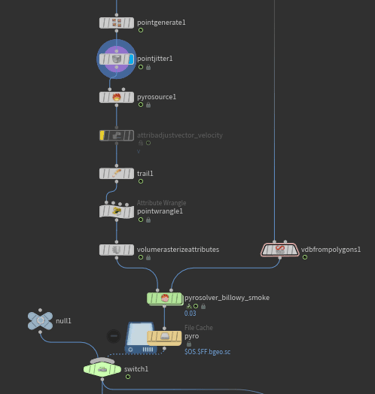
I used three sources for the pyro because the direction it went wasn't what I wanted. So, I separated the pyro into two sides of the lightbulb: one pyro at the bottom of the lightbulb, and the other pyro that goes around inside the lightbulb. Additionally, there is one with the flame. This way, I can control them easily, but it also took more time to cache.
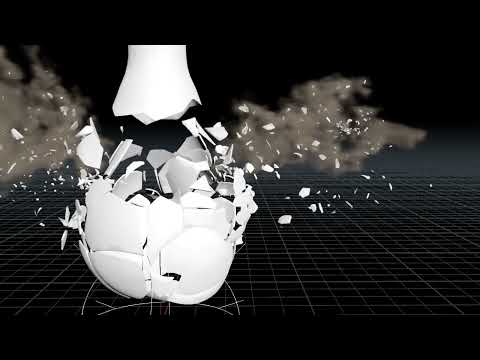
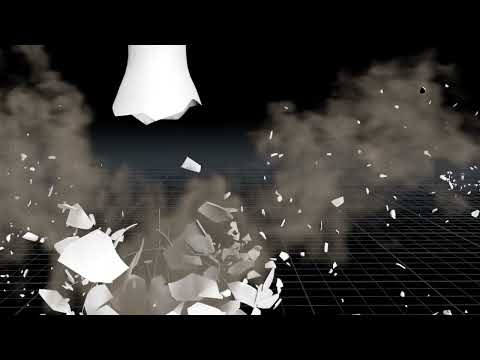
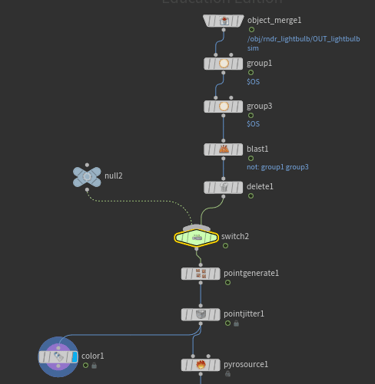
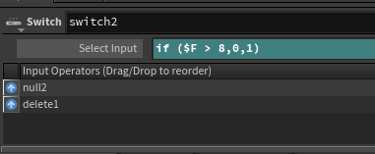


I sourced the pyro from the fracture simulation, and I used a switch node to stop sourcing it at a certain frame, ensuring the pyro looks more natural by not continually following the source.
Flame
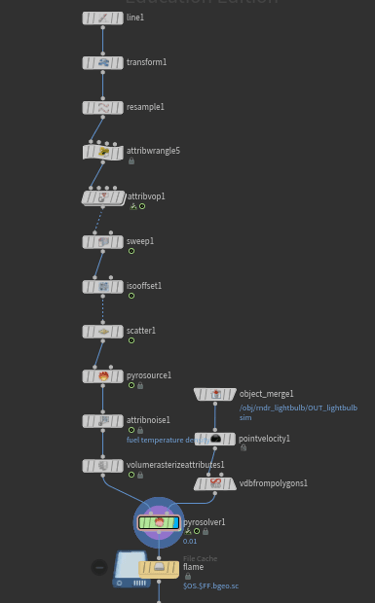
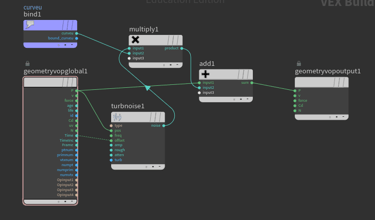
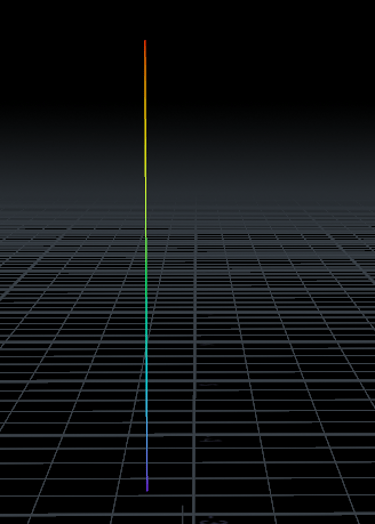
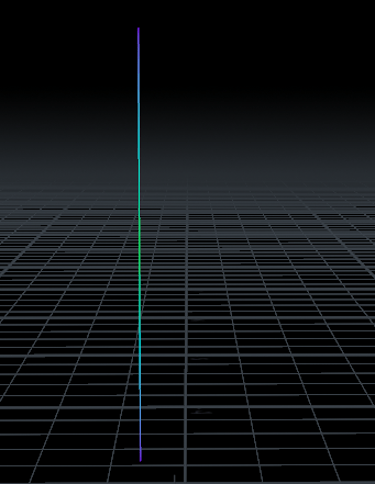
What I did to create the flame source was to generate a line and add noise using VOP.
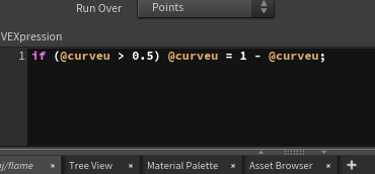
I turned the other half of the curve opposite by subtracting one, so the top and bottom values become zero. This way, when multiplied with noise, they won't move.




update1

I use Point Wrangle to deactivate the parts I do not want to simulate, so they will stay in place.
Reference
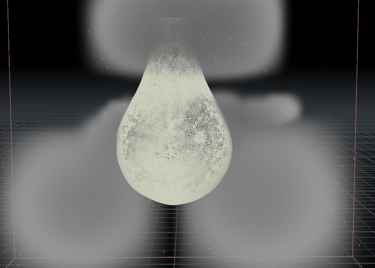
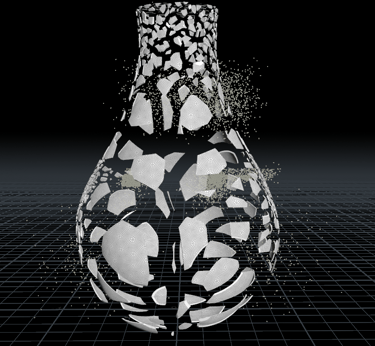


Fracture
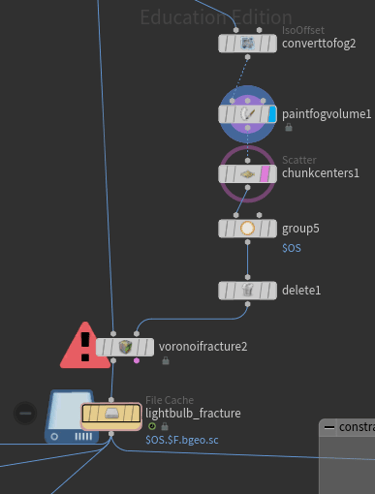
First of all, I use Voronoi Fracture and Paint Fog Volume to customize my fracture and ensure that the fractures on both sides are smaller.
After that, I use two masks to multiply with the velocity and also two groups to determine where the velocity should be applied.
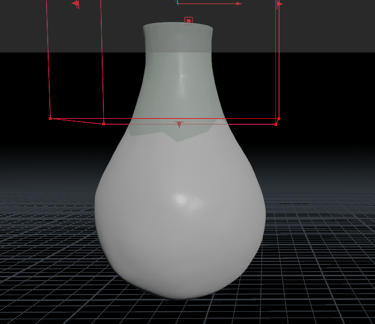
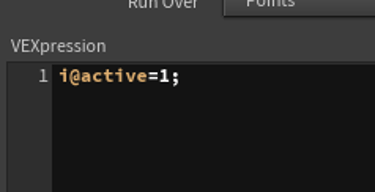
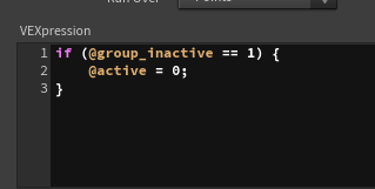


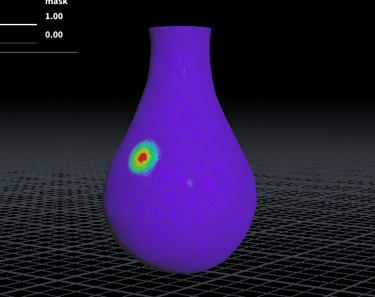
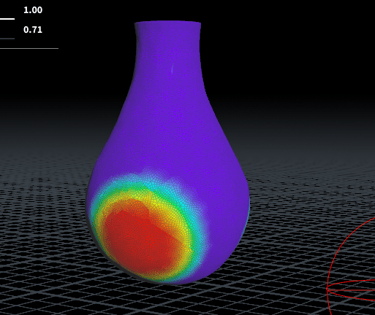
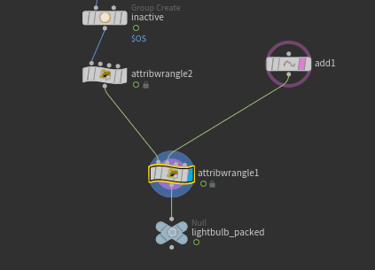
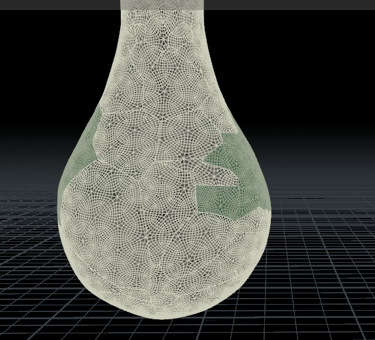
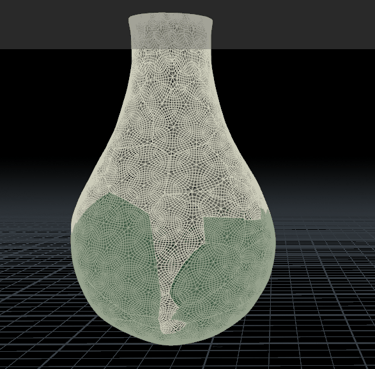
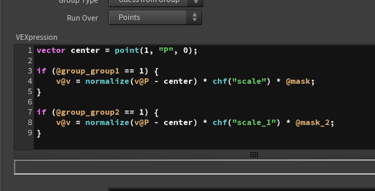


What I did is I created a point that is in the middle of the geometry and connected it to the second input of the Attribute Wrangle. Then, I wrote the condition: if group 1 equals 1, subtracting the point from P will give a direction for the velocity. I then multiplied it with the parameter I created to control the scale and multiplied the mask to make the point in the middle go farther away. As it extends outward, it will get closer and closer.
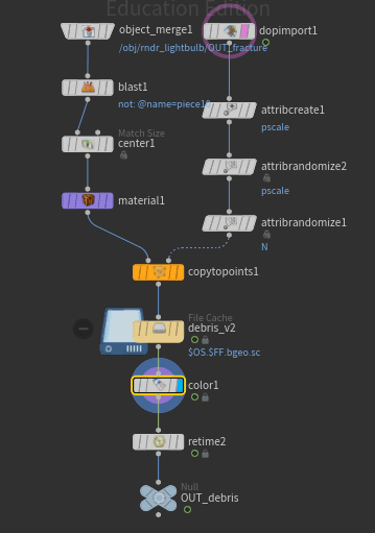
Debris
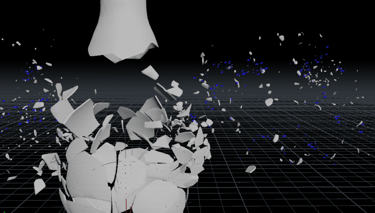
For the debris, I wanted to achieve more variety in the shapes, but adjusting the fracture would take too long. So, I used the fracture simulation as the source of the debris. Then, I selected the shapes I wanted using the 'blast'. However, when I used 'randomize attribute' for normal and pscale, all the debris locations shifted. To fix this, I used 'center' to place the debris at (0,0,0) coordinates and then used 'copy to points'.
